Making a Solar Garden Lantern
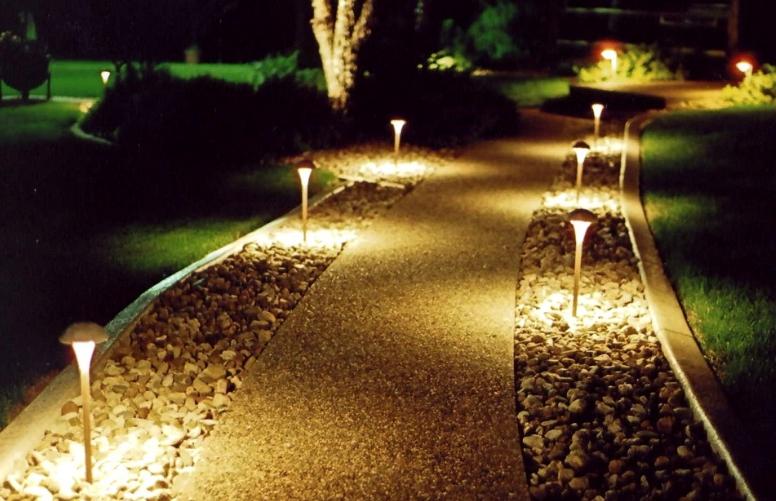
Garden lights powered by solar panels are a convenient and completely autonomous solution. For him, you do not need to pull the cable and spend money on communications, the equipment is inexpensive, and if you wish, you can do it yourself. All components are on sale, you need to study the diagram, buy everything you need and carry out the work according to simple instructions.
solar lamp device
First of all, you need to figure out what parts the structure consists of and how it works. Garden lights have a simple device, as they have only what you need:
- The body containing the parts. Most often, this is a plastic casing in the upper part, and the lower one is made in the form of a rack tapering downwards so that it can simply be stuck into the ground. The plastic is weather-resistant and impact-resistant, so it is not damaged by ultraviolet radiation and does not crack when accidentally bumped.
- Protective glass.There is a flat element at the top and a diffuser on the side. Most often, polymers are the material of manufacture, so even when broken on the site there will be no dangerous fragments.
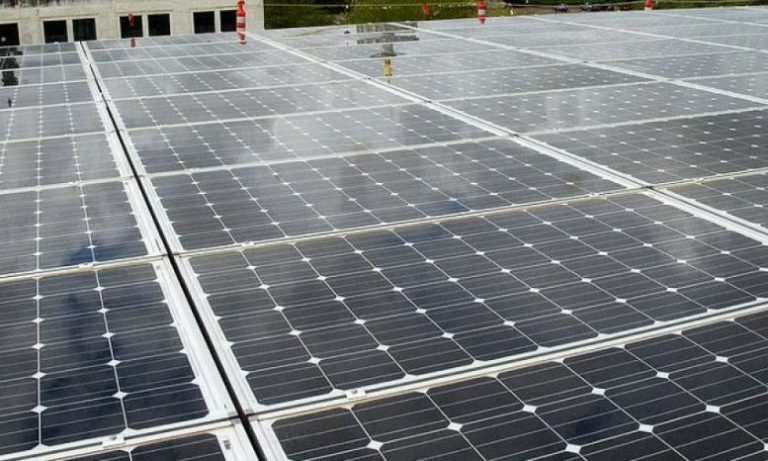
- Solar cell, usually a small cell with an area of about 9 square centimeters. The quality may vary, so the fixtures work differently. When choosing a finished option, you need to carefully examine the surface of the panel, it should be perfectly smooth, without cracks and damage.
- The battery stores the energy converted by the solar battery in order to ensure the operation of the lamp in the dark. Capacity and design may vary, it all depends on the price of the product. When buying, you can specify this point, since the battery life directly depends on it.
- LEDs provide good lighting with minimal energy consumption. The amount depends on the brightness, usually small options are installed that save electricity.
- A photoresistor or light sensor automatically turns on the backlight in the area in the evening. When the amount of light in this node decreases, the resistance changes and the light lights up.
- The control board is a connecting element that connects all nodes and ensures their operation.
If you need an AA battery, you can buy the cheapest garden light. From there, you can remove the battery and its price will be several times cheaper than when buying separately.
This option has many advantages:
- Autonomy: no wiring, no project, etc. You can just put the lamp anywhere and it will immediately start working.
- The equipment provides diffused lighting that does not hurt the eyes, but provides good visibility on the site in the dark.
- Care and maintenance are not required. It is enough to wipe the dust several times a season so that the solar battery accumulates energy more easily, and the light is better scattered.
- The lamps are safe for children and pets. They do not contain any harmful substances and sharp parts.
By the way! If there are cases left from old, broken garden lamps, they can be used to make homemade options. This will make the job easier.
Wiring diagram
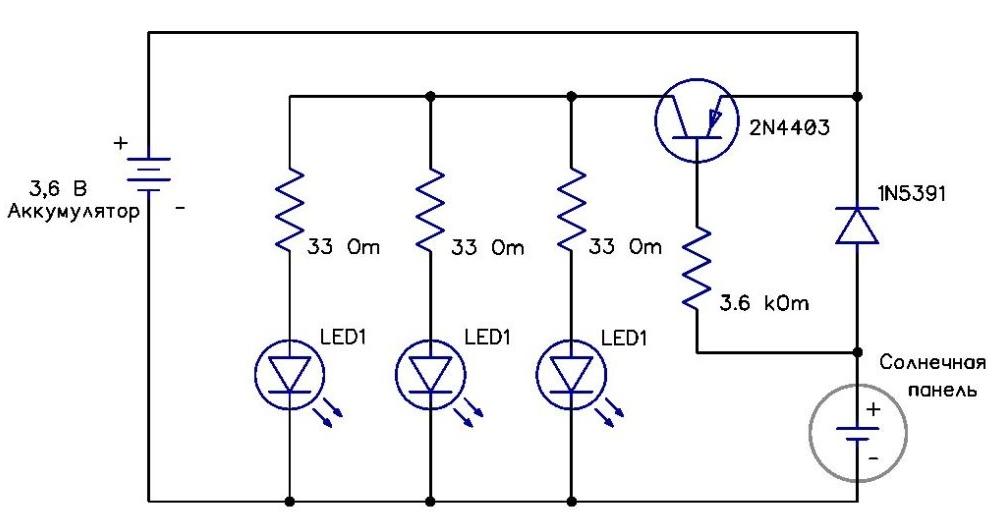
Here is shown the simplest scheme that even a novice master who has never created garden lamps and other similar products can figure out. There are only 7 components in the system.
To understand the scheme and understand why certain parts are needed, you need to consider how the finished product works:
- When sunlight hits the surface, the transistor is in the off state. Therefore, the accumulated energy is supplied to the battery and charges it.
- After sunset, when no light hits the photocell, the transistor opens and voltage is applied to the LEDs. That is, all the possible time during the day the equipment is charged, and with the onset of twilight it turns on.
- The operating time of the lamp directly depends on the battery capacity and the power of the LEDs used in the design. Usually, the components are selected so that they last for 6-8 hours of work.
If there are broken garden lights, some parts can be taken from there.
This type of solar lamp circuit is the simplest, so it's best to practice on it first before moving on to more complex solutions.
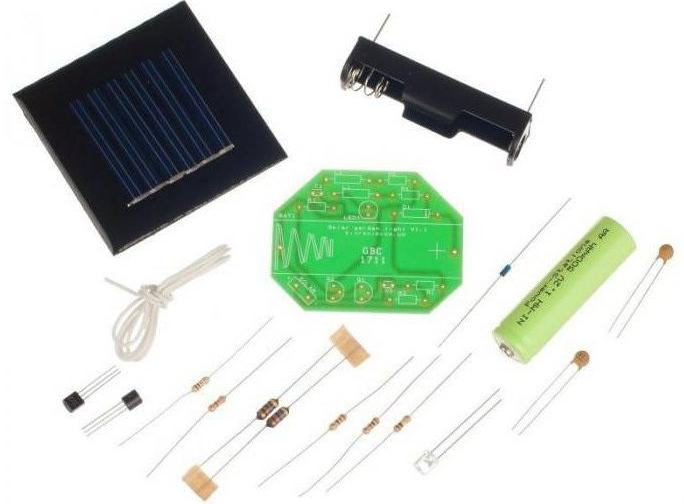
List of required parts
There are only 7 items in this list, most of the details can be found in a radio electronics store. But to save money, you can order components through Aliexpress or other similar sites. The main thing is to select all the details according to the marking, so that in the end you get a workable design:
- 3.6 kΩ resistor.
- 33 ohm resistors (depending on the number and power of the LEDs).
- Diode 1N5391 or analogues (there are both imported and domestic options).
- Transistor 2N4403 (there may be other types with suitable characteristics).
- 3.6 V rechargeable battery. It is better to select lithium-ion ones, since nickel-cadmium ones are not reliable.
- solar photo panel, monocrystalline options are best suited as the most productive and durable. Polycrystalline elements can also be used. The main thing is to choose products of grade A or B, do not take options C, and even more so D, since they are much worse in terms of characteristics, and their service life is shorter.
- LEDs. You can use 1 element for 3 W, but it is better to take 3 pieces with a power of 1 W. In this case, it is good to use DIP diodes, as they perform better in outdoor conditions than SMD.
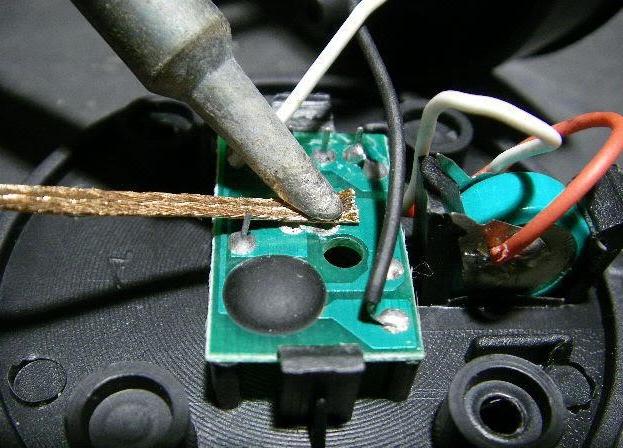
It is necessary to determine in advance in which case to arrange all the nodes. Any options that provide a convenient arrangement of parts will do.You also need to purchase a soldering iron and all materials for soldering, if they are not at hand.
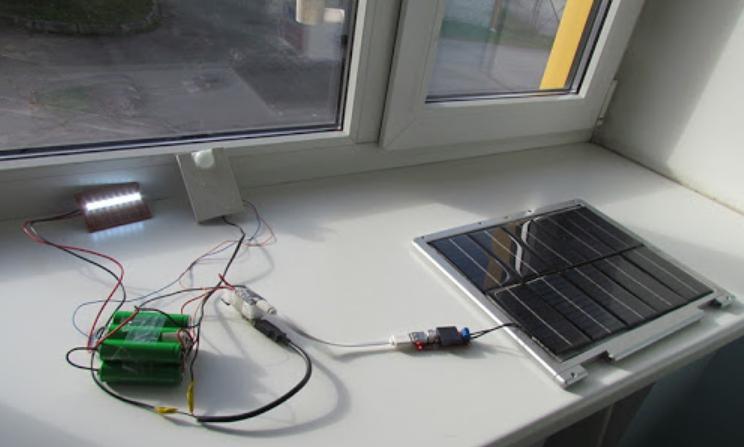
Lantern layout
You need to work on a table that is well lit, and everything you need is at hand. You may need tweezers, a knife, and other tools. It's also best to have a few wires handy. You can connect parts according to the scheme in two ways:
- Use a universal circuit board or make your own. In this case, the main nodes will be arranged in one place and securely fixed. The easiest way to buy is in electronics stores, there are options of different sizes, so it’s easy to choose.
- If there is no board at hand, you can connect the parts in a hinged way. All parts have long legs, so they can be connected even without using wires, but if you need to take some parts away (for example, bring the solar panel out or expose LEDs), use insulated copper wires.
Think over the location of the parts in advance, lay them out and try them on to understand how best to connect. At this stage, you can make adjustments and avoid mistakes and complexities.
What to make a ceiling lamp and how to assemble a lamp
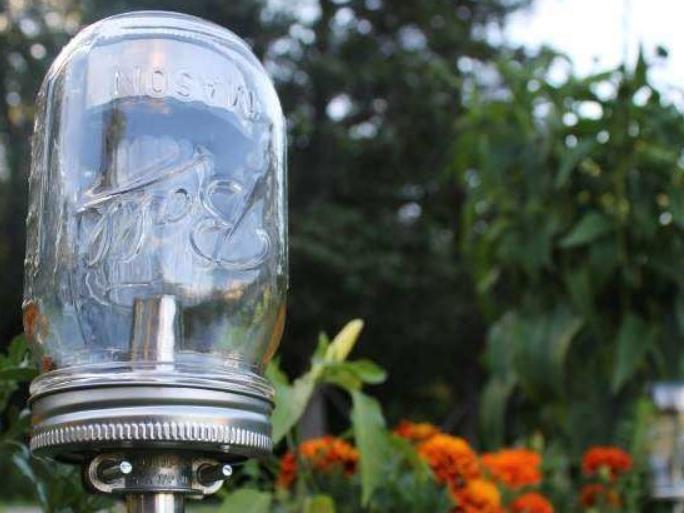
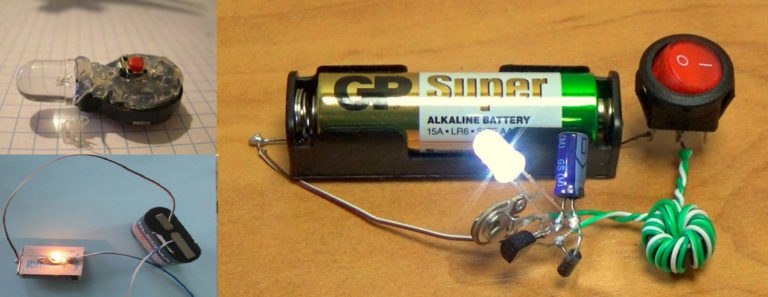
After choosing a layout option, you need to choose a case to protect products from atmospheric influences. It can be a small plastic container that closes tightly or a glass jar with a lid. To make a solar-powered lamp with your own hands, you need to follow the instructions:
- On the selected ceiling (its upper part), fix the solar battery. Contacts must be attached to it, if they are not, the contact track is soldered.It is best to stick on double-sided tape, but do not press hard. Pass the contacts through the cover or other element, having previously made small holes in suitable places. After the wires are stretched, seal the holes with a small amount of weatherproof sealant, moisture should not penetrate inside.
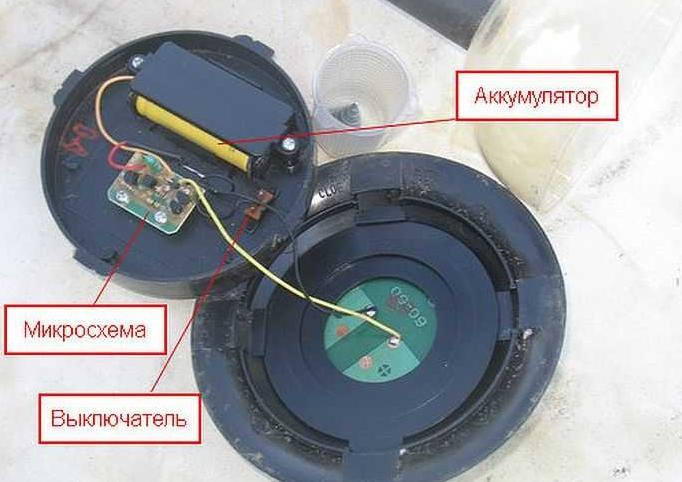
- Inside the case, you need to fix the battery compartment, it is easiest to glue it on a sealant or glue gun. Next, arrange all the other parts according to the scheme, securely connecting them. If the work does not use a printed circuit board, you can fix a small piece of foam and insert the legs of the electronic elements into it so that they are well fixed.
- LEDs usually located at the bottom. If a jar is used, nothing special needs to be done. But to increase the brightness, you can assemble the reflector using thick foil or a CD cut into pieces of a suitable size. Determining the quality of lighting is difficult the first time, it is better to try different options to find the one that will shine best.
- If an opaque cover is used, then one of its walls or the bottom must be cut out and a diffuser or a piece of transparent plastic of a suitable size inserted. Here you need to proceed from the situation and select what is at hand. You can use diffusers or glass from old lamps or flashlights. To secure the element and make the connection waterproof, it is better to use a transparent sealant that is resistant to ultraviolet radiation.
- After connecting all the details of the circuit, it is necessary to check its performance.If everything is fine, the connections must be sealed with a special pencil or contact compound. Before assembling the case, it is worth warming it from the inside with a hairdryer to remove excess moisture and prevent oxidative processes inside.
- You can attach a leg to the finished lamp to stick it into the ground in a suitable place, or you can hang it. To do this, the easiest way is to make a hook or loop on the outside.
By the way! In winter, it is better to clean the lamp in a warm room. This will extend the service life, since at negative temperatures the batteries lose their properties much faster. Plus, due to frost and thaw, condensation forms inside, oxidizing the contacts and destroying them over time.
Video: Making a solar-powered street lamp
How to improve the finished model
If purchased garden lights do not work as expected, or their characteristics do not correspond to those declared, some improvements can be made. They will help improve the design and provide high-quality light:
- If the lamp gives a dim light, it is worth disassembling it and removing one of the resistors. A jumper is put in its place, everything must be done carefully so as not to damage other nodes. Usually this is enough to increase the brightness by an order of magnitude.
- When the light is bright at first, but becomes dim after a short time, and then goes out, you need to add a resistor of about 50 kOhm. This will allow the system to shine brightly for at least a few more hours.
- Another typical problem is that the lights go out a few hours after dark.Most often this is due to the fact that the manufacturer saved on the battery and put a variant with a small capacity. You need to disassemble the case and check the battery rating, if it is 600 mAh or less, change it to models from 1000 mAh or more, it all depends on the performance of the solar module. Choose a battery based on - 8 hours of LED operation plus a margin of about 30%.
- In some models, there is one LED, which does not give high-quality light. In this case, you need to clarify its power, then select 3 diodes, which in total will consume about the same amount of energy and place them around the perimeter of the ceiling at an angle of about 120 degrees.
- Can be used instead of a standard LED solder RGB option and then the light will be iridescent.
To save energy and turn on the garden lamp only when needed, you can solder a small switch into the circuit.
To make a garden lamp with your own hands is within the power of any person with at least basic soldering skills. You can buy components via the Internet or in a radio electronics store. Also, using the recommendations, it is easy to repair or improve the work of finished fixtures.