How to connect trunk lighting with LED strip
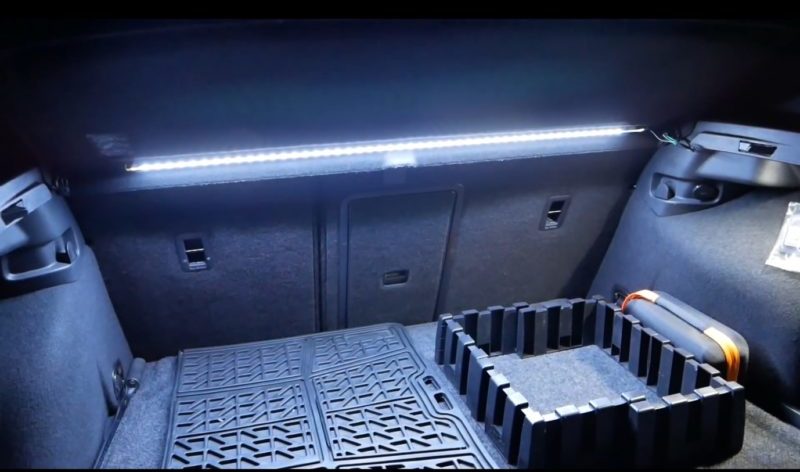
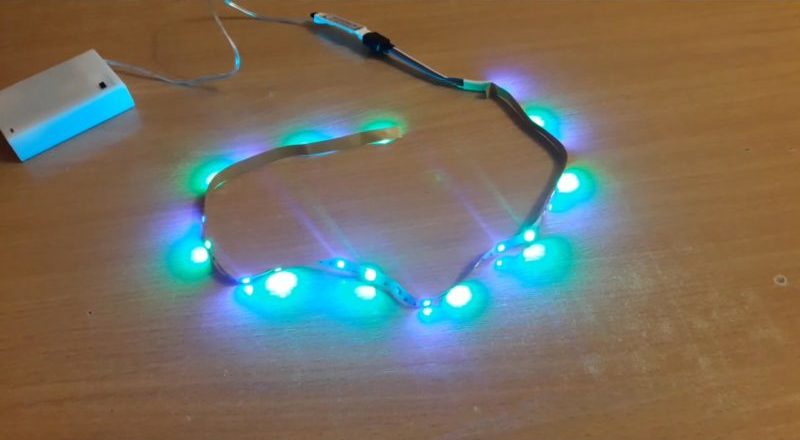
Trunk lighting is one of the most inexpensive ways to customize a car, which is also useful from a practical point of view. In the trunk, you can install several lamps for local lighting or mount a multi-colored LED strip along the contour.
Preparing the instrument and lighting kit
To place the backlight in the car, there are LED kits of several lamps. They are designed specifically to connect to certain car models and are easy to install. The lamp comes with a wiring diagram.
Installing an LED strip is much more difficult. First, you need to measure the approximate length in advance and decide on the number of backlight colors. It is advisable to order moisture resistant tapes, so they will last longer.
To install lighting from an LED strip in the trunk, in addition to itself, you may need:
- three-position switch;
- screeds;
- heat shrink tubes (cambric), if additional protection for LEDs is required;
- connecting terminals in the required quantity;
- 5 A fuse;
- contact wires, preferably of different colors, so as not to get confused;
- roulette;
- rubber bushings, seals, in the event that the wires will pass through the drilled holes;
- cutter;
- soldering iron with solder;
- double-sided tape if the LED strip does not have an adhesive layer;
- coupler for wires;
- insulating tape;
- pliers;
- silicone sealant;
- alcohol or alcohol solution;
- indicator screwdriver for voltage ringing;
- screwdriver.
The set of tools for different machines will vary, as well as due to the choice of connection source.
Selecting a connection method
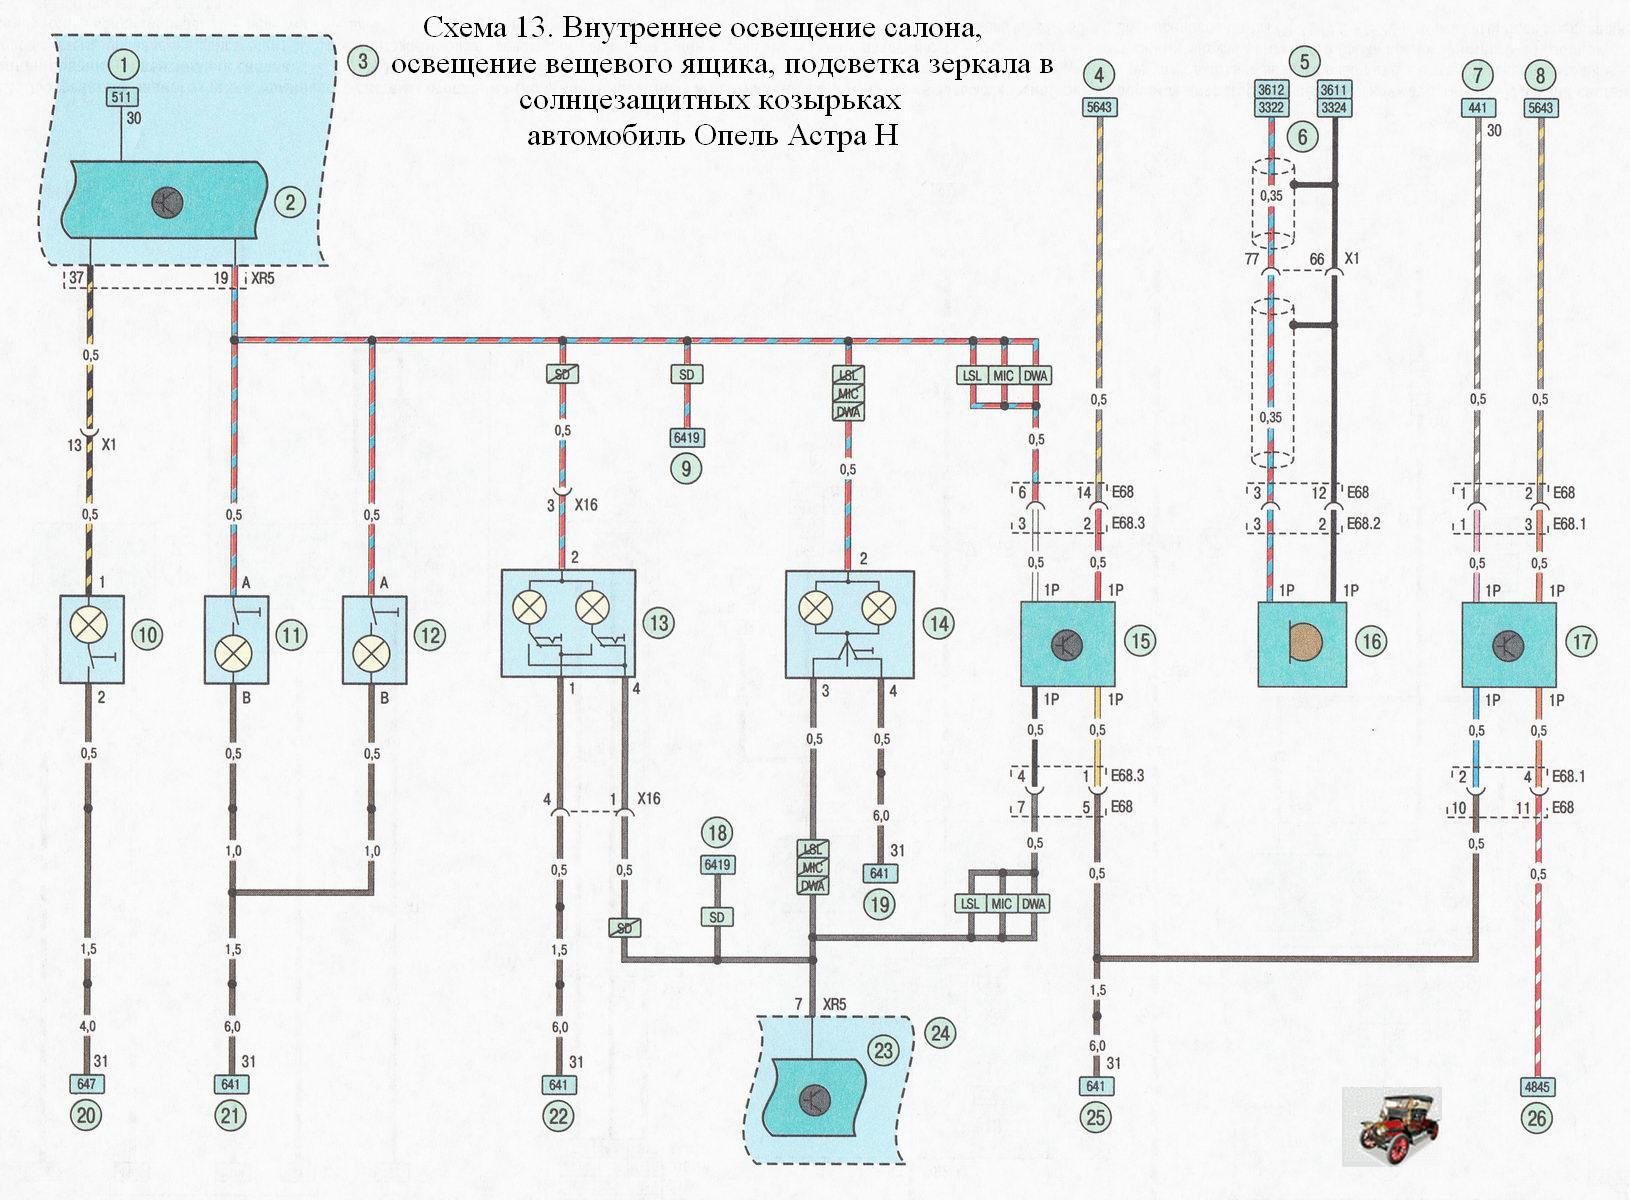
In cars, there are several options for connecting additional lighting with their own characteristics. Each car has nuances in the wiring layout, so you need an electronics diagram.
to existing lighting
If there is already a backlight in the luggage compartment, then you can use it for power. The wires should be stretched to the ceiling and connected through the terminal.
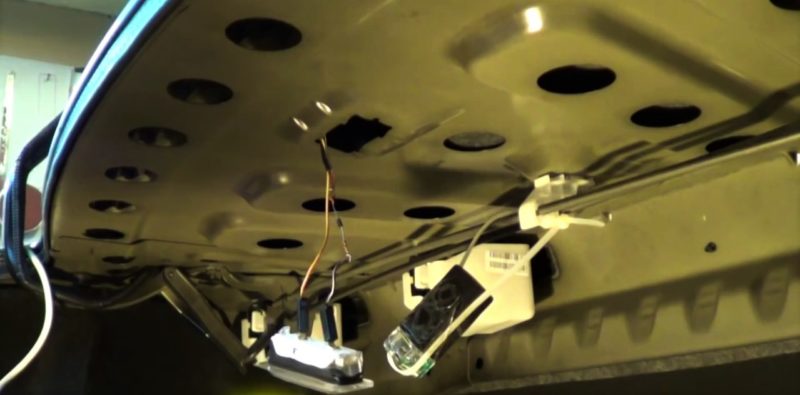
To the interior ceiling
Can also be used to power the interior ceiling light. To do this, you will need to carefully remove the inner lining of the ceiling. You should not do this if the car was in the cold or if the fastening device is unfamiliar, there is a high chance of damaging the latches. After removing the ceiling, lay the cable and connect with a plus after the power switch. The minus is brought to any metal part of the body, for example, to a bolt.Thus, the light will be lit in the cabin and in the trunk from one switch.
To ensure that the backlight does not depend on the inclusion of salon light, you should install a toggle switch to turn it on in the luggage compartment itself. When choosing a place for its installation, it is necessary to take into account that it can be touched or damaged by the load. In this case, the cables from the backlight must be connected in front of the toggle switch for turning on the ceiling in the cabin.
It is recommended to mark new wiring so that you do not mix up the wires later.
Auto power on
To automatically turn on the trunk lighting, you must purchase a limit switch for the tailgate or lid, which allows you to stop the current when you close it.
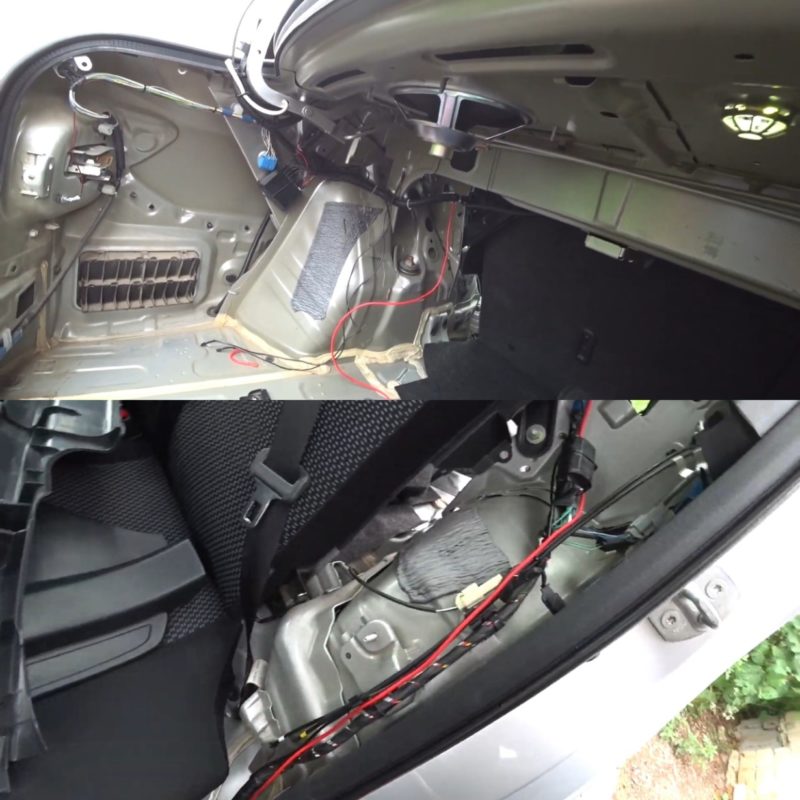
The difficulty in mounting automatic light is the lack of a 12 V wire in the trunk in some cars. To run the wire, remove the floor, lining and seals on the left side in the trunk and cabin (in a right-hand drive car, this must be done on the right). Next, lay the wire to the brake pedal in the engine compartment and connect to the battery. To do this, solder the terminal to the wire, and solder the fuse to the battery plus circuit.
With 12 volt outlet
For those who have an outlet in the trunk or cabin, there is an option to connect the backlight without unnecessary complications. You just need to buy a plug, solder it to the tape wires and stretch it.
From external power
If you do not want to power the backlight from the machine, you can install third-party power.For this, a power bank or reusable batteries are suitable. Connection to the power bank is carried out through a special USB adapter. There are also adapters similar in design for batteries, but it is possible to power it without it. Any batteries will do, the main thing is that they generally give a voltage of 10-12 V. After soldering the wires to the tape, they should be stripped and soldered to the battery, black to minus, red to plus. For the toggle switch, you will need to bring a positive wire and also solder it.
Mounting the backlight
At the beginning of the installation, you should decide where the backlight will be attached and what exactly needs to be highlighted: individual sections or the entire trunk space. Next, you need to decide what it will be powered from. After that, you can start assembling and installing the backlight.
- If necessary, place the LED strip in separate parts in different places - cut it strictly according to the markup, so as not to damage the LEDs. For additional protection, you can place the tapes in heat shrink tubing. Transparent ones are suitable for colored trunk lighting, and multi-colored ones can be used to give white light different colors.
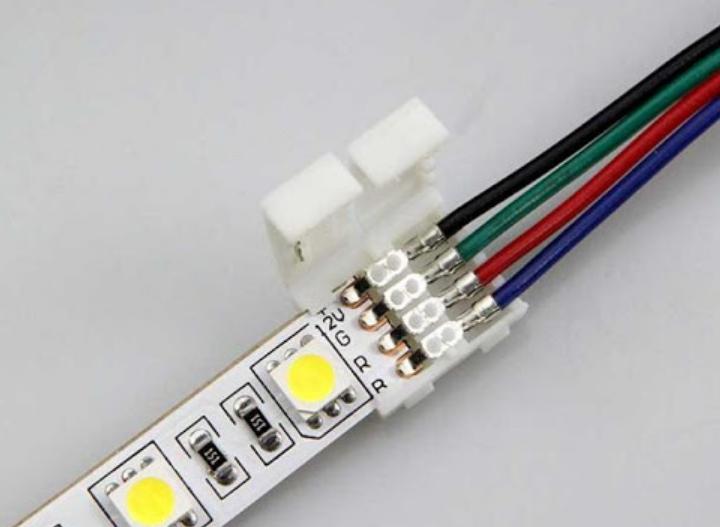
- Solder wires to pre-bare contacts of the tape or connect them with special connectors.
- Disconnect the negative terminal from the battery. If you remove the entire battery, you should first turn off minus then plus to avoid a power surge.
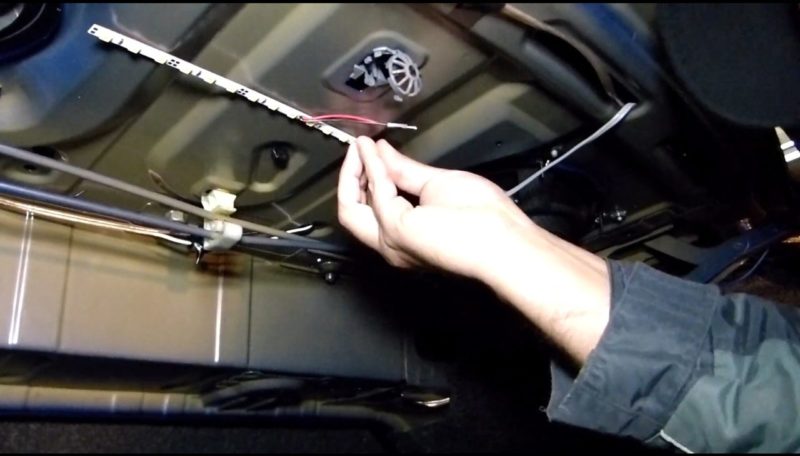
- Glue or otherwise fix the LED strip in the selected areas, having previously cleaned them.
![How to connect trunk lighting with LED strip]() Attaching the tape to the selected area.
Attaching the tape to the selected area. - Check if the connections were damaged when placing the tape by connecting the backlight to the battery. After cleaning the contacts, they need to be attached one to the minus, the other to the plus.
Further stages of work vary due to several options for connecting to the network. For safety reasons, connect the wires with gloves. It is also recommended to use non-conductive tools.
How to fix the tape
Before gluing the LED strip, rinse off dirt and degrease the places of its future placement with alcohol. So the backlight will last longer. Next, remove the film from the adhesive layer of the tape, gently attach it and press. Strong pressure on the LEDs themselves should be avoided so as not to accidentally damage them. If the tape does not have an adhesive coating, you will need to carefully place a strip of double-sided tape on the back. If it is possible to hook the wires, you can do without glue and use ties, the tails of which are cut off after fastening.
Connection of segments
For connections together with two segments of the LED strip, soldering or plastic connectors are used.
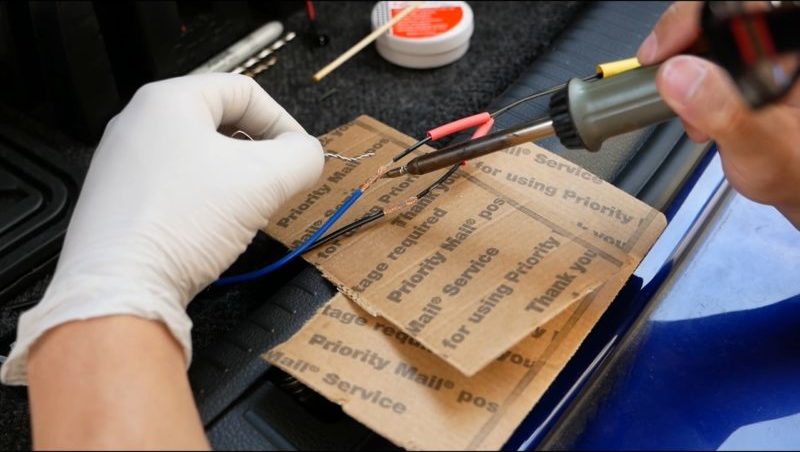
Using soldering, you can connect the tapes into one and also attach wires to them in order to combine segments that are distant from each other into one circuit.
Before soldering the tapes, the necessary places must be cleaned and the contacts exposed (for multi-colored tapes there are four of them, for single-color tapes - two). Wires are either soldered to the contacts, or they are soldered to the contacts of another tape. It is recommended to use wires with a diameter of 0.75 to 0.8 mm. To avoid confusion, you should take red for plus and black for minus, you need to solder at a temperature from 250 to 350 ° C.
Connectors can only fasten two pieces of tape together by clamping the contacts. They do not exclude the possibility of their oxidation and are not as reliable as soldering.
How to hide wires
Most of the wires, when connected, are hidden behind shades or parts of the inner lining. Those that remain in sight can be attached to clips with 3M adhesive tape so that they do not hang down. With other backlight power sources, the wires can be laid behind the side of the rug and attached to the walls with the same clips. If necessary, the wires passing through the walls of the trunk are also hidden behind the facing panels.
Video examples for popular car brands
For clarity, we recommend watching a series of videos.
For Renault Duster.
Lada Kalina.
Skoda Octavia
Do-it-yourself backlight installation is not difficult for those who have already worked with electronics. With a lack of experience, it is better to turn to professionals so that small work does not drag on for long hours and does not turn into problems.