Methods for connecting LED strips to each other
Sometimes the length of the LED strip does not correspond to the intended tasks, and you have to rack your brains: how to make it longer? The answer is extremely simple: connect several separate fragments of the LED strip together to the desired size. This can be done with your own hands as an ordinary soldering iron with rosin, or with the help of special connectors. The article introduces the advantages of each method of joining pieces of a luminous thread, their algorithms.
When it might be needed
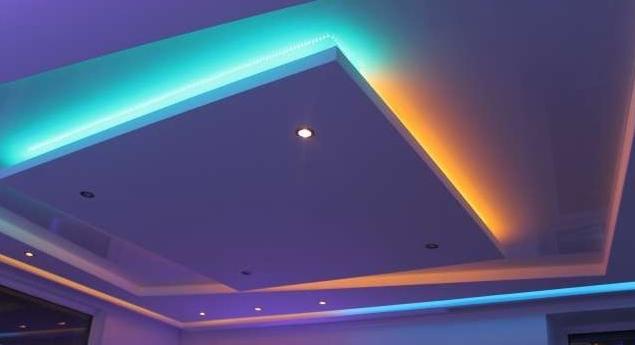
The reason for connecting LED strip fragments is usually the same. Typically, lighting strips are sold in coils up to 5 m, and this length is not always enough for all areas of the premises. For example, I want to wrap a stretch ceiling around the perimeter with tape for beauty. Will 5 meters be enough? Of course not. The same applies to the decor of the facades of shops, banks, beauty salons.So the LED filaments have to be lengthened by connecting individual fragments.
The main methods for joining pieces of LED filament
The LED strip is connected in two ways: by soldering and using connectors. Which one to choose depends on the end goal. If you need a guaranteed reliable strong connection for years, better to use soldering. Connectors will also connect fragments well, but this method is simpler and faster.
Now about the main pros and cons of each method of connecting fragments of the LED filament together. Information is presented in the form of tables.
soldering method
| Per | Against |
| The tape can have any desired turns and bends. | If there is no experience or self-confidence, it is better not to take it. |
| High connection strength | A very hot soldering iron is a big threat to the operation of the tape |
| Contacts will not oxidize | |
| No need to deal with fees | |
| If you have a soldering iron, rosin, electrical tape, you don't have to spend money | |
| The junction of the fragments is not striking |
Connection using connectors
| Per | Against |
| Connectors are easy to install and remove | High humidity is the enemy of connectors |
| There are many types of connectors for different purposes. | Contacts can quickly oxidize |
| The ability to give the LED strip any bends and shapes | If you purchase a low-quality connector, the tape may simply not turn on. |
| No additional insulation needed | The junction of the pieces will be noticeable |
| Connectors do not hit the pocket | |
| Installation does not require super skills |
Solder connection
You can join pieces of a luminous tape by soldering in two ways - wirelessly and by means of a wire.
Without wires
The first method involves wireless docking of LED-filament fragments with each other. It is done according to the following algorithm:
- Prepare a soldering iron. Well, if it is temperature controlled. The required temperature is up to 350°C. If there is no regulation option, you need to make sure that the soldering iron does not heat up more than the specified temperature, otherwise the tape can be irreparably damaged.
- It is best to use thin solder with rosin. In preparation for work, the tip (sting) of the soldering iron must be cleaned of any remnants of the old rosin, trace elements using a metal brush. After that, wipe the sting area with a damp sponge.
- So that the LED thread does not fidget back and forth during manipulations, it is fixed on a hard, flat surface with resistant tape.
- The ends of both pieces of tape should be well cleaned, after removing the interfering silicone coating. All contacts must be carefully cleaned of it, otherwise it will be difficult or impossible to solder the two fragments. For stripping and removing the silicone coating, it is better to use a sharp clerical knife.
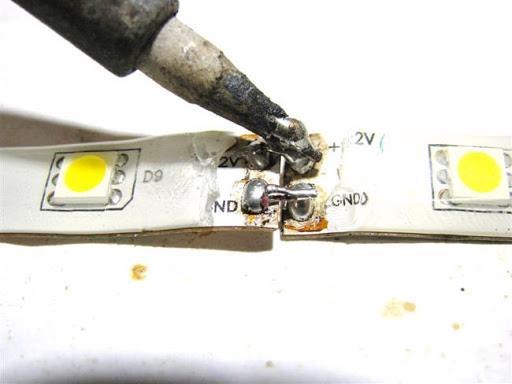
- Thoroughly tin the contacts on both fragments with a thin layer of solder.
- It is better to overlap the pieces, slightly overlapping each other.
Important! Be sure to make sure that plus goes to plus, minus to minus.
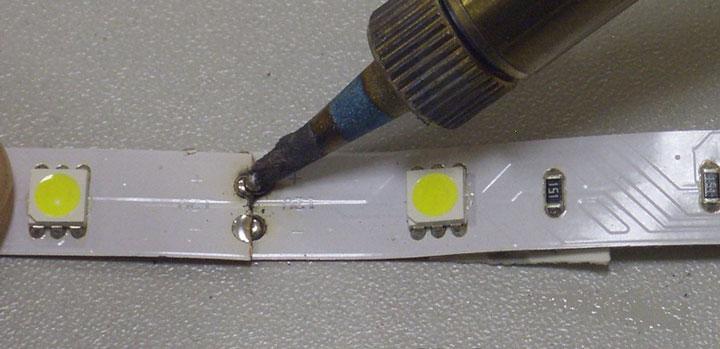
- Reliably solder all joints until the solder is completely melted, and then leave the tape to dry.
- When the connected pieces are dried, you can try to turn on the thread in the network. If everything was done correctly, each LED on two fragments will light up. Lack of light, sparks, smoke - all this indicates soldering errors.
- If the tape works well, the joint areas are securely insulated.
Video tutorial on tape soldering
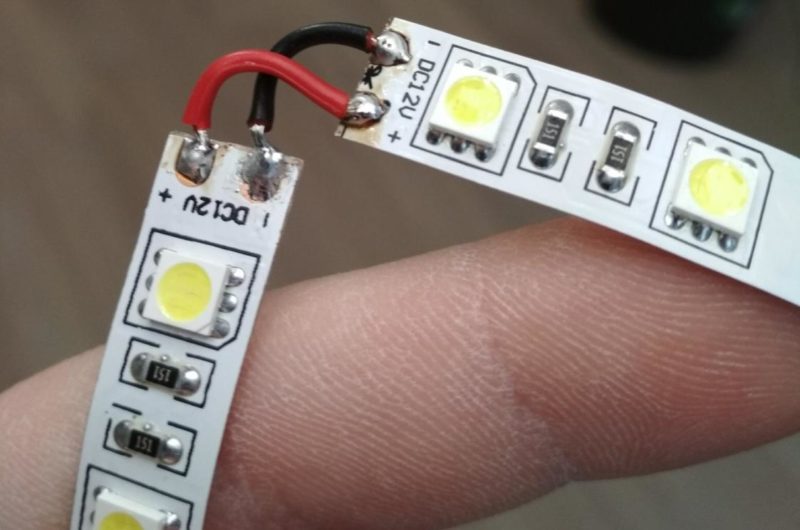
with wire
For the second method, the first 4 steps will be the same. Next, you need a wire. Copper with a diameter of 0.8 mm is well suited, the main thing is that the cross section matches. The minimum length is 1 cm, but longer is better.
- Remove the coating from the wire, tin the ends.
- Align the contacts on the pieces of tape in pairs, and solder each end of the connecting wire to a pair of contacts. To do this, the wires are bent at an angle of 90 °, and in this form they are soldered to the contacts of the LED strip.
- When everything is dry, the device can be connected to the network and check if everything is done normally.
- Upon completion of the work, it is not necessary to remove the rosin from the sealed areas, but if necessary, it is better to use alcohol for this.
- The wires must be well insulated, and heat shrink tubing is put on them for better protection.

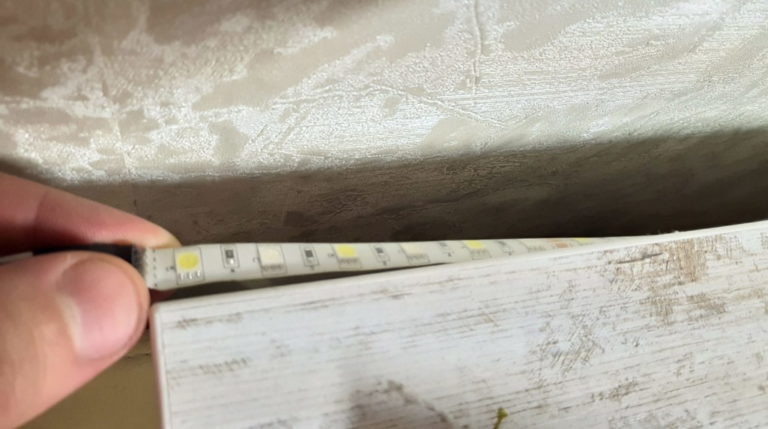
Now the elongated LED strip can be bent in any way and installed in a variety of directions.
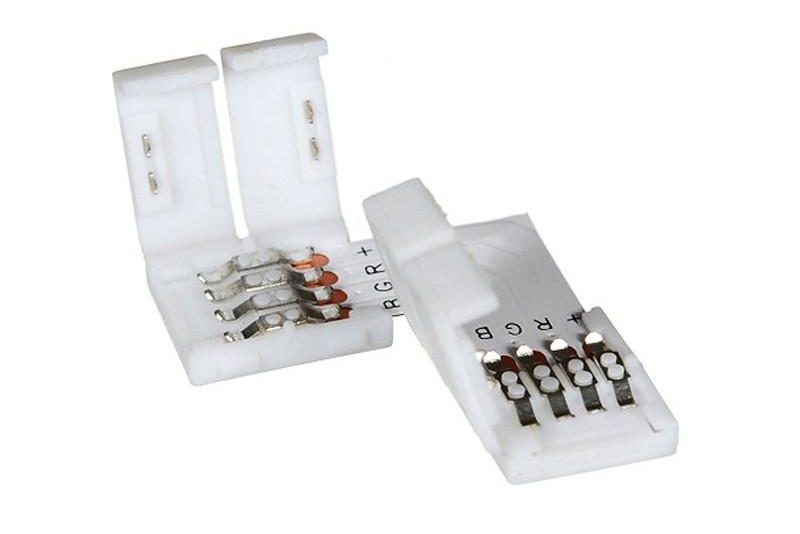
Docking with connectors
For a faster and more affordable way to fasten two fragments of LED filaments, special connectors are used. They are a small plastic block with a latch and pads.
What are
Depending on the task, different types of connectors are used:
- With a curve. Such devices help to combine fragments of the thread in any desired direction, put them at different angles and in parallel.
- No bend. Suitable for straight connection only.
- Corner. As the name implies, their purpose is to join fragments at a right angle.
Step-by-step instructions for switching
All that is required for such an operation is sharp scissors. The algorithm is the following:
- Cut off two pieces of tape of the desired length. The number of LEDs on each of them must be a multiple of 3.
- If there is a protective silicone coating, clean it with a clerical knife so that the path to the contacts is open.
- Open the connector cover and place one end inside it. The contacts must fit snugly against the pad.
- The cover snaps into place, and the same manipulation is performed with the end of the second output of the LED filament.
- When connecting wires through the connector, you need to make sure that the polarity is correct so that you do not have to do it all over again.
- The final stage is connecting to the network and checking the operation of the tape assembled together.
To join 3 or more fragments of the LED strip, you should use the connector RGB-type. It, unlike standard connectors, has not 2 pads, but 4 - 2 on each side. Between the two ends of the connector runs a 4-wire bus of wires of different colors, it can be folded if necessary.
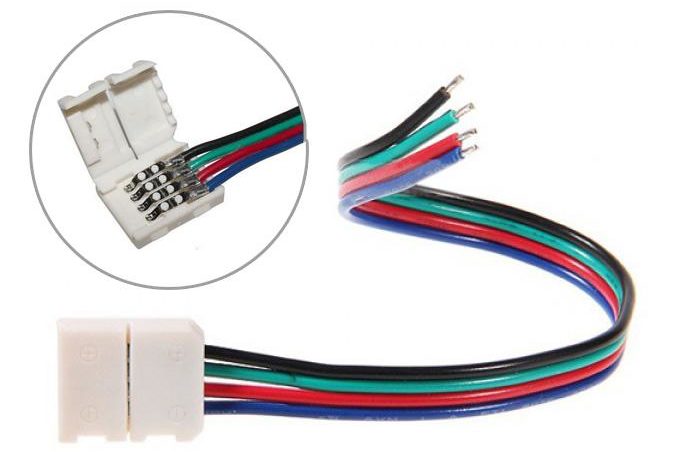
In addition, a quick connector with two wires can be used to connect pieces of a single-color LED strip. It must be turned over so that the wide white strip is on top, insert each end of the thread into the corresponding connector. In this case, it is important to ensure that polarity is observed. After securely fixing and snapping the box, you can begin to check the operation of the LED strip.
We fix the information from the video: