Mounting and installation of a chandelier
After buying a lighting fixture, many are wondering how to hang a chandelier. To understand it, you need to familiarize yourself with the methods of fastening, step-by-step instructions for performing work. It is also useful to learn how to act in difficult situations - with low ceilings, old wiring or fixing on a stretch ceiling.
Preparation, selection of tools and materials
To install a lamp in your home quickly, you need to prepare. All tools and materials should be at hand so that in the process of performing work you do not have to run to the store.
Of the tools you will need:
- electric drill or hammer drill;
- stepladder (if not, you can use the kitchen table);
- screwdriver with bits (you can also use manual screwdrivers);
- indicator screwdriver;
- pliers.

Materials:
- chandelier;
- pads for connection or special terminals;
- hook or anchor (depending on the method of attachment);
- screws for fastening.
First you need to buy a chandelier, and only then, depending on its configuration, additionally buy fasteners.
When choosing fixtures, you need to focus on the material of the ceiling itself. Anchors are suitable for a concrete surface, for wooden ceilings there are special self-tapping screws, even without a hook. The chandelier on drywall is fixed with metal screws, they must fall into the profile.
Mounting order
Attaching a new chandelier to the ceiling will take about an hour. To prevent this process from being delayed, you need to divide it into stages in advance:
- Preparation and installation of fasteners. First you need to choose what will be used: a hook, a bar or another option. After that, the fastener is fixed in the ceiling.
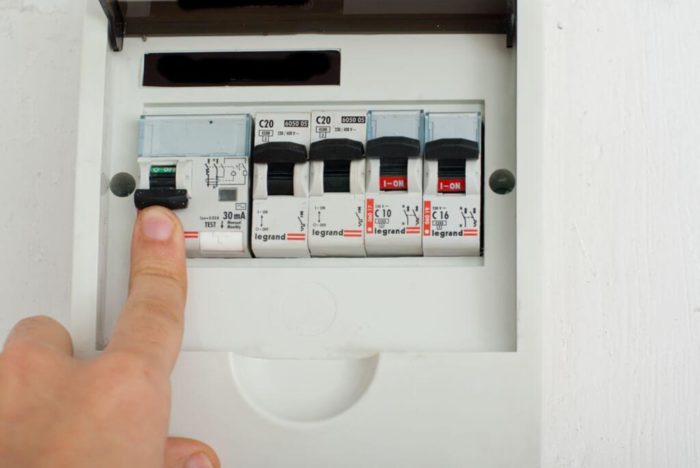
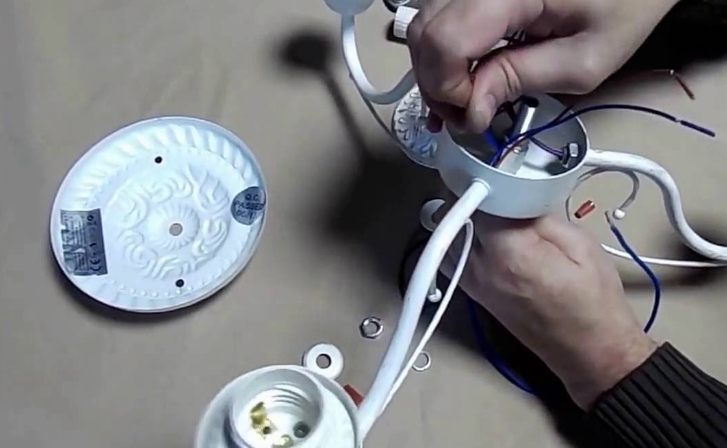
- Wiring preparation. Be sure to de-energize the room when working with electricity.
![Mounting and installation of a chandelier]() Before work, the room is de-energized.
Before work, the room is de-energized. - Chandelier installation and connection. Previously prepared wires are connected to the lamp, it is attached to the ceiling.
- Control check. On the machine, you need to turn on the electricity for your apartment, try to see if the chandelier works.
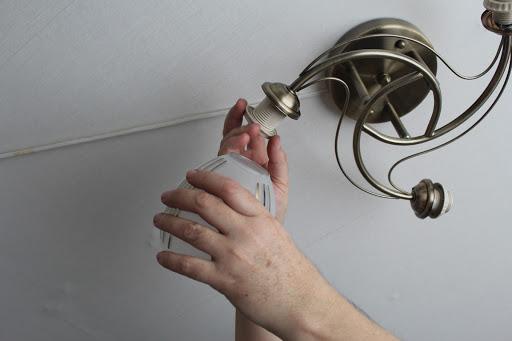
- Plafonds installation. If at the previous stage everything went well and the lamp is working, then you can install decorative elements in the form plafonds.
![Mounting and installation of a chandelier]() Fragile decorative details are attached at the end.
Fragile decorative details are attached at the end.
This is a general instruction for installing a chandelier, but it may vary slightly depending on the chosen installation method, on the characteristics of the ceiling materials, and even on the characteristics of the room.
Mounting methods
There are several ways to hang a chandelier, which differ in the fasteners used. The main characteristic influencing the choice of a particular method will be its weight, because it is important that the lighting device is securely fixed in the ceiling.
Hook use
A hook fixed in the ceiling is a fairly reliable mounting option, and you can install it yourself, the process will not be difficult.
The lamp hook can only be screwed into a solid and solid base: concrete, solid wood, metal. But attaching it to drywall, plastic or other fragile materials is not worth it.
The method of fixing the hook itself directly depends on the mass of the suspended device:
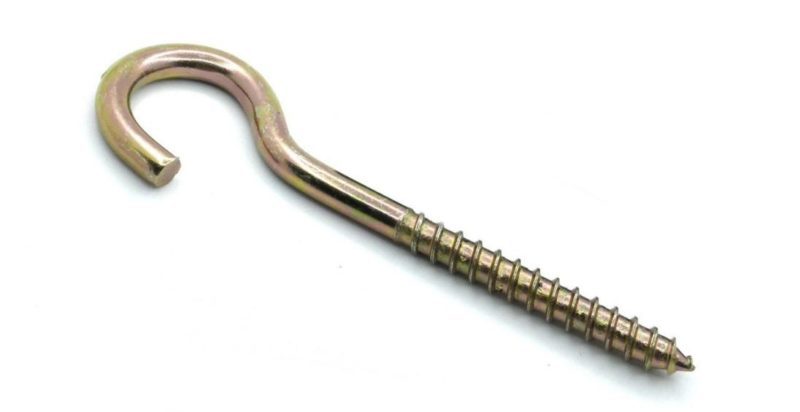
- Chandeliers up to 4 kg. For lightweight designs, a threaded hook can be used. First, it is necessary to drill a hole in the ceiling of the desired diameter and length, insert the appropriate dowel into it and screw in the hook. This design will easily withstand most conventional household fixtures.
![Mounting and installation of a chandelier]() Screw hook.
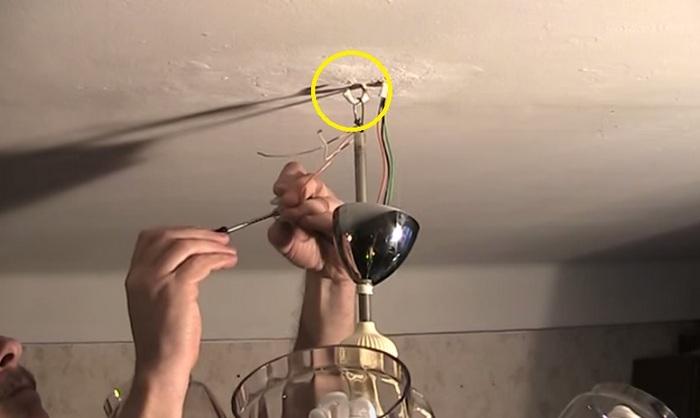
Screw hook. - Chandeliers from 4 kg. For heavier products, a fixing system with anchor bolts (d>=10.0 mm2) and a spreading hook will be required. An anchor is inserted into the pre-drilled hole, tightened to the maximum.
![Mounting and installation of a chandelier]() Hook with anchor bolt.
Hook with anchor bolt.
“Naked” fastening hooks will not look good in every interior style, so manufacturers complete chandeliers with special bowl-shaped camouflage caps. This element can be moved up and down the rod, which will allow you to adjust the height of the lamp.
Fixing with a bracket or strap
This mounting option is a little more difficult to implement, but is also reliable for heavy chandeliers. Complete with lighting fixtures, manufacturers usually provide special steel strips or brackets. In their design there are two screws that are fixed with nuts. All this together is attached to the ceiling with dowels. To this design, the chandelier is also fixed with bolts. The attachment is made to be as strong as possible.
In the method, it is important to use suitable screws. For wooden beams, special models for wood are suitable.
Simplified way of fixing
Installation of a light ceiling chandelier of small size can be carried out without special additional fasteners. The essence of the method is the direct connection of the lamp and the base. In the design of small lighting fixtures, plates with holes for self-tapping screws are provided in the upper part.
Installation begins with a “fitting”, you need to designate the installation location of the chandelier and draw dots in the places of the holes. Channels are drilled at these points, dowels are inserted, after which the chandelier is fixed with screws.
Fixing a non-standard chandelier
For some designs, the standard mount is not suitable. In this case, you can choose a model of the right size among the perforated mounting plates, they are sold in hardware stores. Another option is to make the plate yourself, on the surface of which the necessary holes are made.
As a connecting element, a screw-nut design can be used, rather than threaded elements. After fixing the non-standard mount, installation continues according to the instructions.
What to do in difficult situations
All standard mounting methods help to hang the chandelier on your own only on ceilings that meet all requirements. It should be a concrete or wooden ceiling with a standard height and a flat surface. Not always all conditions are met at once, difficulties arise, but they can be solved.
Low ceiling room
For such premises, the problem can be solved even at the stage lamp selection. You can take a compact version with a built-in mounting system.
If you still need a full-fledged pendant chandelier, it is better to exclude the hook from the design, for this:
- You need to cut the fasteners. After trimming, the dimensions should be such that the element is completely hidden under the decorative cap.
- All fragile parts of the chandelier are removed, if possible, the rod is also removed.
- The wiring is removed from the terminal block.
- Holes are drilled behind the thread, which should hide under the cap.
- A fishing line is pulled into these holes, screwed to the wires.
- It is necessary to pull on the fishing line until the wires “come out” from the other side of the rod.
- The wires are connected to the terminal block.
Mounting on drywall
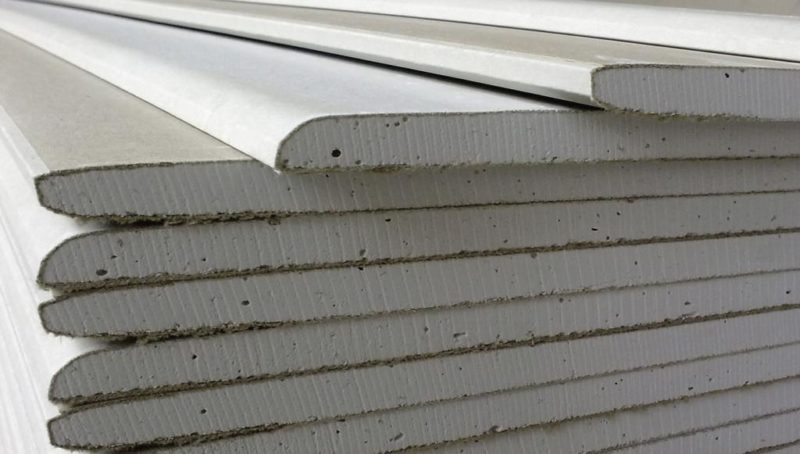
Drywall is an excellent material for ceilings in apartments and private houses, it allows you to quickly and accurately level the surface. But its main drawback is fragility. Hanging structures should not be placed directly in the sheet.
You can't do without a chandelier either. There are four mounting options:
- Into the black ceiling. The mount is mounted in the draft ceiling and the tube from the lamp passes through the drywall sheet. The disadvantage of the method is that the design "eats" part of the chandelier, so it is better to use models with a long rod.
![Mounting and installation of a chandelier]() Base attachment.
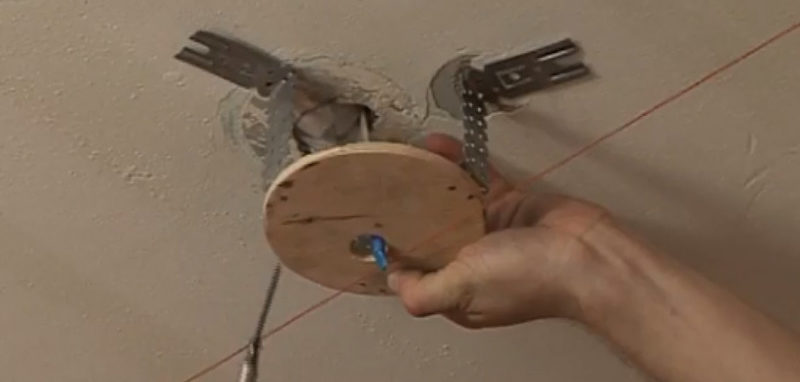
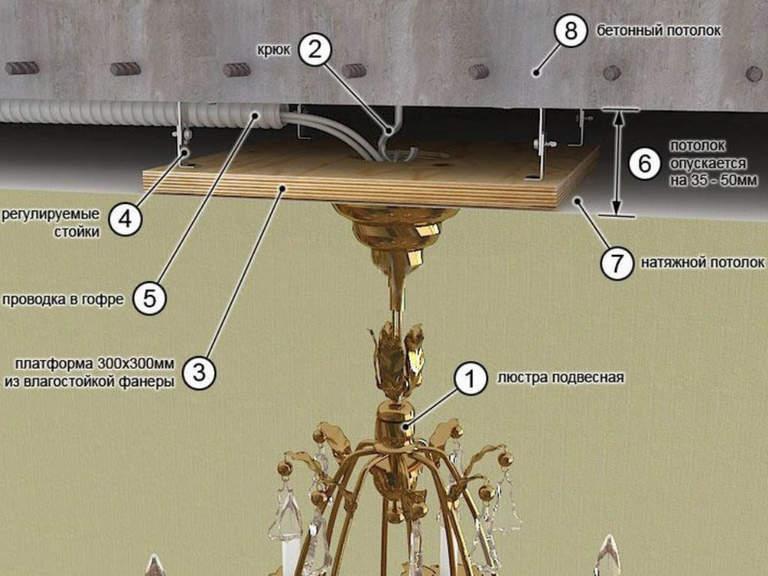
Base attachment. - Laying a bar. The essence of the method is that a bar is laid between the drywall and the draft ceiling, it is fixed to the base, and already to it - a chandelier. This design is less durable than the previous one, but avoids loss of length.
![Mounting and installation of a chandelier]() Homemade plywood mortgage.
Homemade plywood mortgage. - Profile fixation. The metal profile is a durable part of the plasterboard ceiling, so the fixture for the lamp is screwed into it.
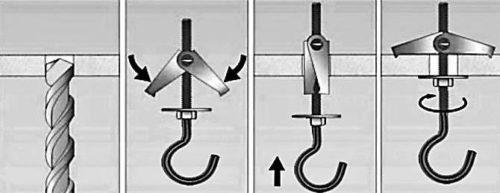
- Butterfly use. A special fastener with spacers that will open and hold the structure inside. Butterflies are suitable for light lighting fixtures.
![Mounting and installation of a chandelier]() Butterfly hook.
Butterfly hook.

Read also: How to hang a chandelier on a plasterboard ceiling
Mounting in a stretch ceiling
The stretch fabric is usually equipped with point light sources. But some still decide to install a chandelier. It should be immediately clarified that this is possible only at the planning stage; it is impossible to insert a chandelier into an already stretched canvas.
Before installing the stretch ceiling, you need to choose the location of the chandelier. A frame is mounted in this place, for this you can use plywood, metal plates. A chandelier mount is already mounted to the finished platform.
From the video you will learn how to hang a chandelier if there is no puncher and nothing to drill holes with.
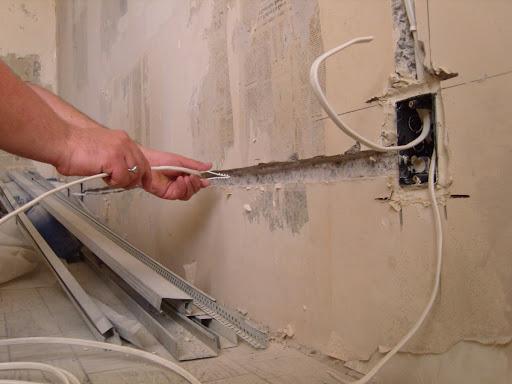
Problems with old wiring
In old houses from the times of the Soviet Union, a problem is often encountered - too short a part of the wire sticks out of the ceiling.You can de-energize the room and use insulated fasteners to build up the wire. But it is better to change the fragile wiring to a modern, higher quality one.
Control check
After the chandelier is fixed in the ceiling, it is necessary to check the reliability of the structure. To do this, it should be shaken a little. If there are problems, connections reach out. After that, you can turn on the power supply. If there are no sparks, the machine does not automatically turn off and there is light, which means that everything is done correctly.
Safety regulations
When the order of work is already known, the features of fastening methods and methods for solving problems in different rooms, you need to study the safety rules:
- Tools, materials are prepared in advance. It is important to do everything in one go, and not be distracted by finding the right details in the process.
- Power off before starting work. The machine is located in the corridor or entrance. In private houses it is placed in the basement.
- Checking cables. Even previously disconnected wires on the machine must be checked with a voltage indicator before work.
![Mounting and installation of a chandelier]() Voltage testing is a must.
Voltage testing is a must. - Better to work during the day. It is more convenient to work in natural light than with a flashlight.
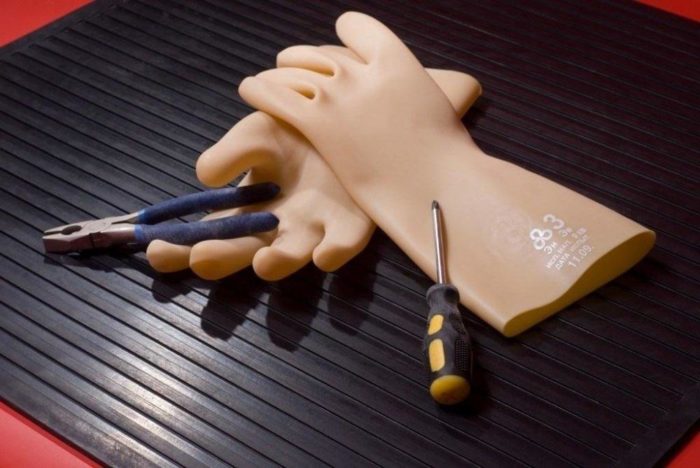
- Use of protective clothing. Rubber gloves are required, goggles and special boots are also required.
![Mounting and installation of a chandelier]() Rubber gloves for safe work.
Rubber gloves for safe work. - Using Trusted Connections. For this, it is better to use terminal blocks.
- Checking a new lamp. After purchase, you need to check the quality of the clamping screws of the cartridge and terminal blocks. If they are poorly tightened, there is a risk of burning in these areas.

At the end of the video: The main mistakes in fixing the chandelier.