Installation and connection of a mirror with lighting in the bathroom
Connecting a backlit mirror is easy if you understand the design features. There are different lighting options, you need to know the details in order to properly carry out the work. In addition, it is worth studying the installation instructions that always come with the product.
Backlight types
Depending on the location, the backlight is divided into three groups, each of them has its own advantages and disadvantages.
outdoor lamps
They are very popular, as they provide high-quality lighting of the mirror itself and the space in front of it. With the right choice of light bulb, an ideal light bulb is ensured. color rendering, which is important when applying makeup and cosmetic procedures. Can be implemented in different ways:
- Small sconces that are fixed on the wall on the sides. Most often, they use shades that give a homogeneous diffused light that is comfortable for vision.The area in front of the mirror is well lit, providing comfort for all who use it.
- Rotating adjustable lamps fixed above the mirror. These are peculiar spots that can be directed to the right place to provide high-quality lighting. A good solution, it allows you to adjust the light, change position if necessary, which is also convenient. A long fluorescent lamp can be located at the top.
- Overhead options that are fixed around the perimeter of the mirror and give a soft diffused light. More often these are small LED bulbs that look very good in such products.
![Outdoor options give good light.]() Outdoor options give good light.
Outdoor options give good light. - Models with built-in spotlights are also convenient, as you can achieve the desired position.
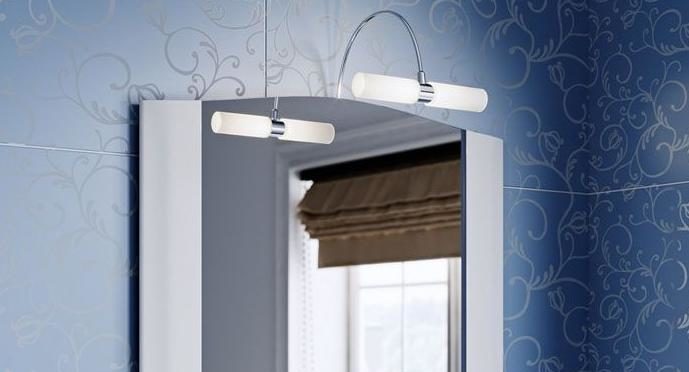
Side lamps can also be mounted on the mirror housing.
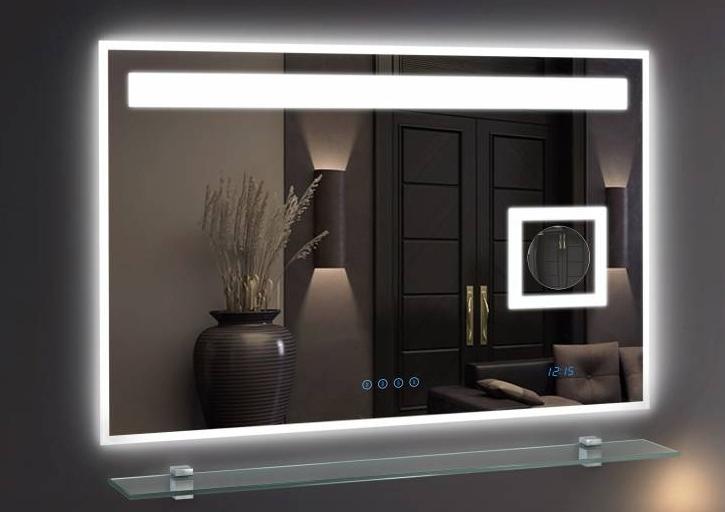
Internal illumination
This solution differs due to design features. Its main advantages are compactness and modernity. Features are:
- The LED strip is located on the inside of the mirror. To distribute the light evenly, a strip of frosted glass is made, which serves as a diffuser.
- Lighting can be located on the sides or around the perimeter of the mirror, it all depends on its size and product model.
- It is important to be able to adjust the brightness to customize it to your liking.
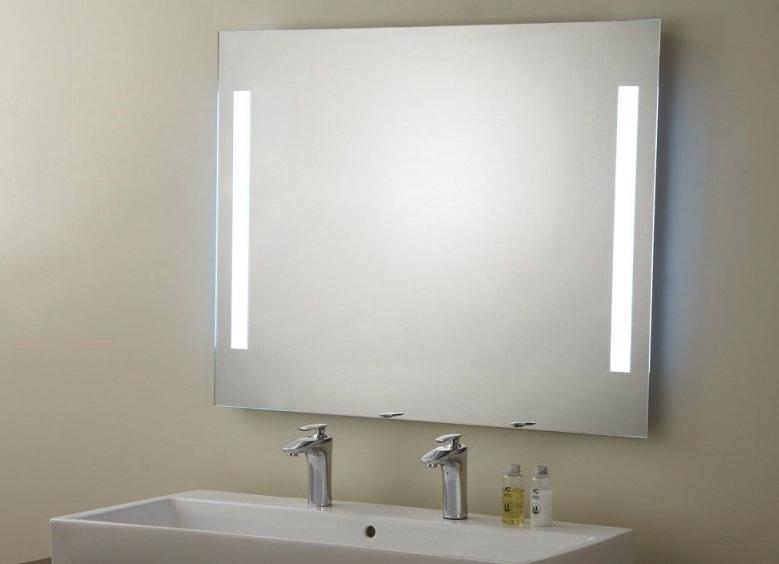
This option is good because the lighting elements are already included in the design and do not need to be installed separately.
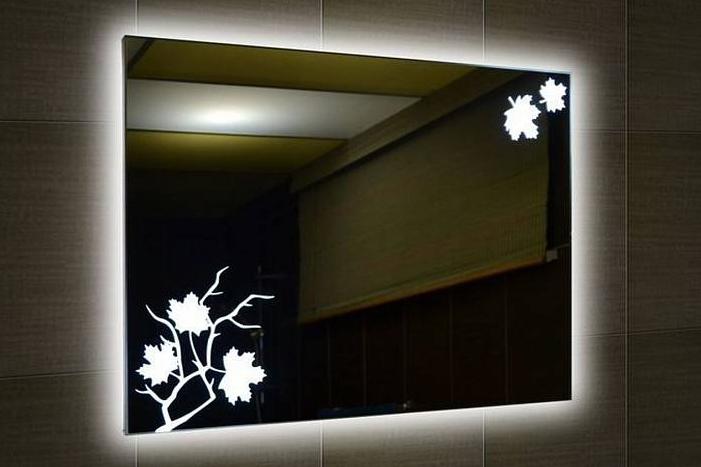
Decorative lighting
This solution does not have a practical function and does not illuminate the space in front of the mirror in the same way as the previous types. It is necessary for decoration and giving an original look.Most often, this type is combined with another one.
The backlight can be located around the perimeter, located in niches and shelves. In some models, there are small gaps on the mirror, from which different compositions are created.
How to install an illuminated mirror
Installing an illuminated mirror is within the power of any person who has minimal skills in such work. Before starting, you need to study the instructions in order to understand how best to fix the structure. After reviewing the documentation, follow the steps in the table.
| Step 1. The location of the mirror is determined, first of all, the height is important. Marks are made on the wall in the places where the fasteners will be located. Ideally, do them at the seams between the tiles. | 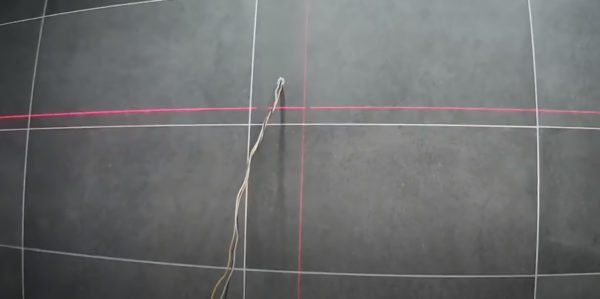 Marking can be done using a laser level. |
| Step 2 It is best to drill first with a drill for ceramics, and then with a drill for concrete. Select the depth according to the size of the dowels used. If they are flimsy in the kit, you should buy reliable ones. | 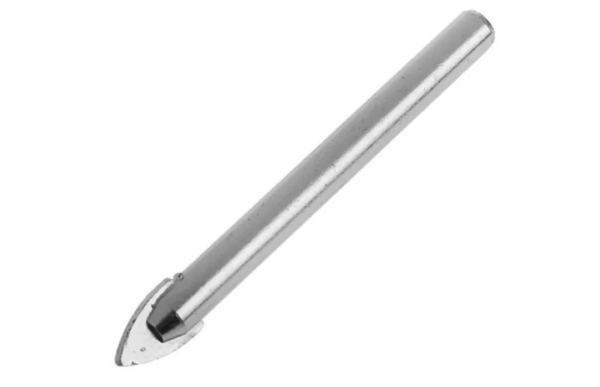 Reduced for drilling ceramics. |
| Step 3 Fix the mirror on the surface, this part of the work is best done with an assistant to hold the product. If the wire needs to be connected directly to the power cable, then stretch it into the hole in advance during installation, so as not to remove the structure later. | 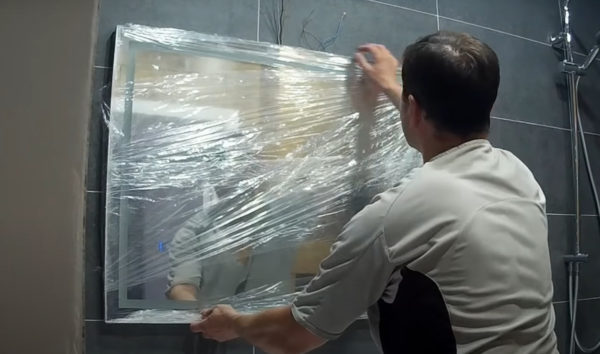 We fix the mirror. |
| Step 4 To connect the wires, you will need a connection diagram, the insulation marking is indicated there so as not to confuse anything. It is best to connect with special terminals, do not use electrical tape and twists. After finishing work, check the power on and off to make sure everything is fine. | 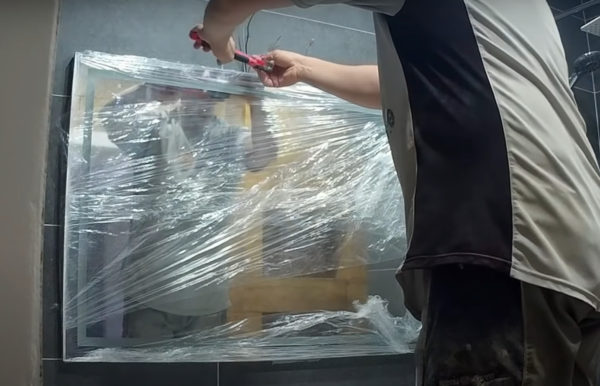 We make the connection of lighting cables. |
| Step 5 If the fixtures are placed on the side, you may need to mount to the wall, in this case it is often necessary to bring the wires to the right places, which complicates the work. Sometimes the elements are attached to the sides of the mirror body, this is an order of magnitude easier. You need to fasten the lamps strictly according to the instructions, most often points for installation are marked on the frame. | 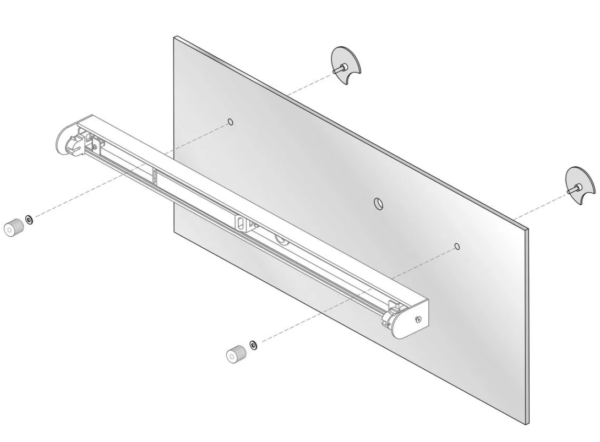 If the luminaire is mounted separately, see the complete drawing. |
| Step 6 Connecting options with a socket is much easier, as you just need to insert the plug. But in this case, you will have to first supply power to where the mirror will be located. The socket must be with the highest class of protection against moisture and a lockable housing. | 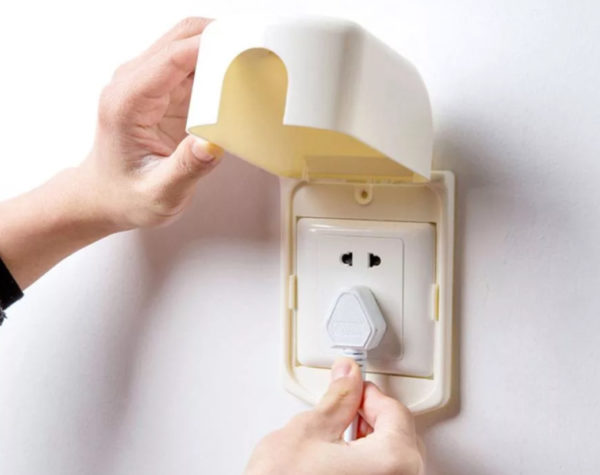 You can use a plastic protective case. |
Important!
Before starting work, be sure to turn off the power supply at the instrument panel to rule out any problems. Do not forget to connect the ground wire, if any.
Connection features depending on the type of light source
In order to connect a mirror with lighting in the bathroom, it is also necessary to take into account which elements will be used for lighting. Usually one of the following types is used:
- Fluorescent lamps you need to connect through a special block so that they flicker to a minimum and give maximum brightness. They do not heat up during operation, so they are well suited for the bathroom.
- Halogen options can be powered by a 12 V power supply, this solution is best suited for a mirror. These are directional light fixtures that heat up quite strongly during operation, and during installation you should not touch the bulb with your fingers, as this will reduce the life of the bulb.
- LED it is not difficult to connect the lamps, they are powered by 12 V, usually there is a circuit in the kit, which should be followed.
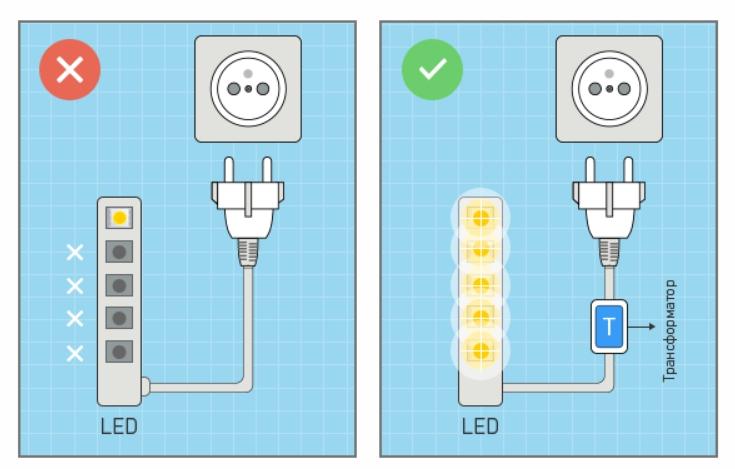
- LED Strip Light allows you to make the backlight anywhere, it is cut along the marked lines and connected to the power supply, the connections are best soldered and closed with heat shrink tubing.
![Installation and connection of a mirror with lighting in the bathroom]() The presence of a transformer when using LED strip is required.
The presence of a transformer when using LED strip is required.
By the way!
Fingerprints on a halogen lamp are best removed with alcohol.
Common Mistakes
When installing a backlit mirror, mistakes are often made, the most common of them are:
- When connected to the network, twisting is used or aluminum and copper are connected without using a block.
- Selected power unit equipment power. Options with a power margin of at least 30% should be used.
- You are using an outlet that is not suitable for installation in high humidity conditions.
- The connection diagram is not observed and the ground wire is not connected.
When using the power supply, place it in such a way as to protect it from moisture, but at the same time ensure normal cooling.
Video example of installation and demonstration of Cersanit LED mirror functions.
Connecting a backlit mirror is easy if you understand the types of structures and study the features of connecting different options. When working, observe safety precautions and connect the wires according to the scheme that comes with the kit.