Checking the LED lamp for operability with a multimeter
Since the bulb of the LED bulb is not transparent, it will not be possible to visually determine which of the chips have burned out. This also applies to other elements. To check the LED lamp, use a multimeter - a device for measuring resistance and current. It will also be needed when checking the cable for a break.
To identify a malfunction, you should learn how to use a multimeter, find out the principle of its operation, familiarize yourself with the modes and rules for preparing for use. There are analog and digital multimeters. Experts advise buying the second option due to more accurate diagnostic indicators.
Preparing the multimeter for testing
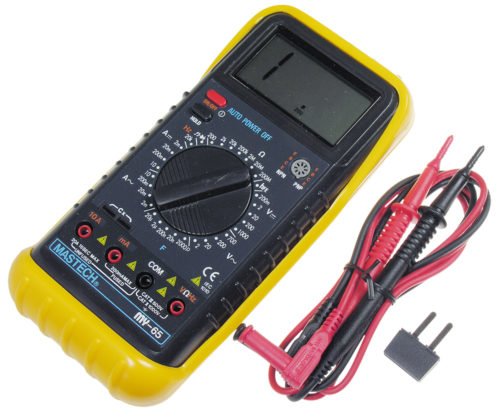
Before checking, you need to carefully inspect the multimeter for damage. The battery cover must close tightly. Next, you should check the probes and the wires going to them. If you need to make insulation, electrical tape or heat shrink tubing is suitable for this.There should be no chips on the probes, otherwise they should be wrapped in the same way.
Before operation, the mode must be switched to a resistance of 200 ohms. The black cable is connected to the “Com” socket, and the red cable is connected to the measured values. One should appear on the screen. If the reading is different, the multimeter is broken or not working properly. Next, the probes are crossed with each other, after which 0 should appear instead of one.
These readings indicate that the tester is working correctly. If the display is dim or the numbers are flashing, the batteries are probably low. To check the LED lamp, you must select the “open search” mode on the toggle switch. It is marked with a chip icon.
Steps for checking a 220 V LED lamp
To check LEDs in a 220 V lamp with a tester, you must do the following:
- check the toggle switch and set the chip check mode;
- connect the wires to the tested diode;
- check polarity.
If everything is done correctly, the indicators on the screen will change. Another way to diagnose is to check the transistors. In the pnp section, the cathode is connected to hole "C", and the anode to "E".
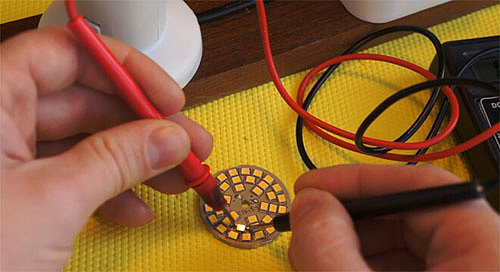
Continuity of individual LEDs
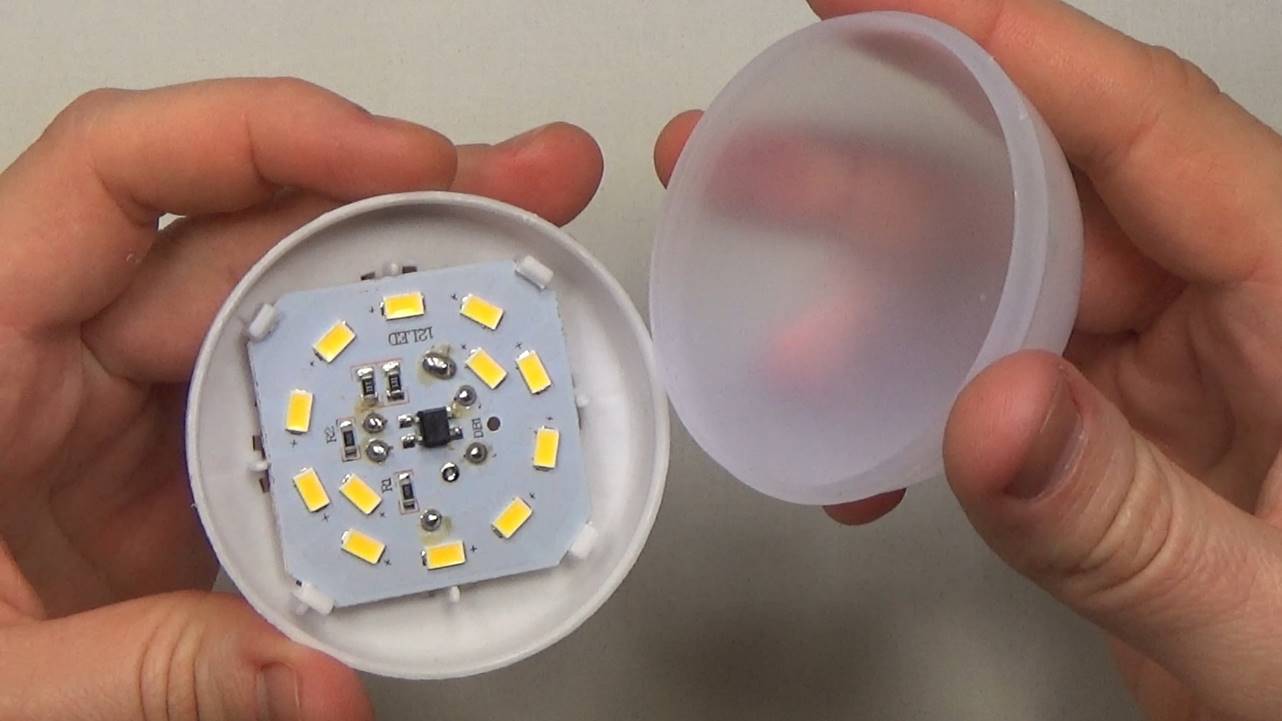
For continuity of individual LEDs, the multimeter should be switched to the Hfe transistor test mode. After the diode is inserted into the connector, as in the photo.
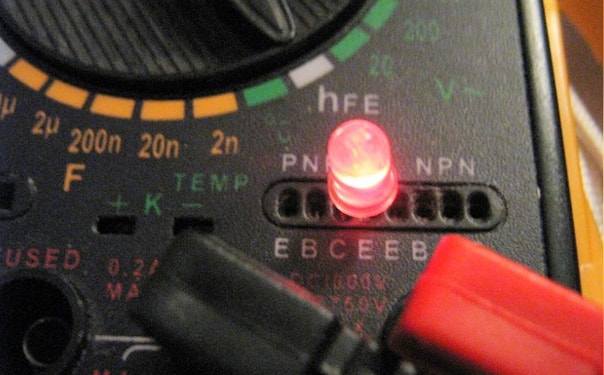
These contacts are negative and positive electrodes that make the diode glow. It is important not to reverse the polarity, as the LED will not light up. Just in case, you can swap the pins of the chip to make sure it is malfunctioning.
Before calling, determine where is the anode and cathode of the diode. Multimeters can have different specifications and designs, and test jacks are sometimes different. But each has all the necessary slots.
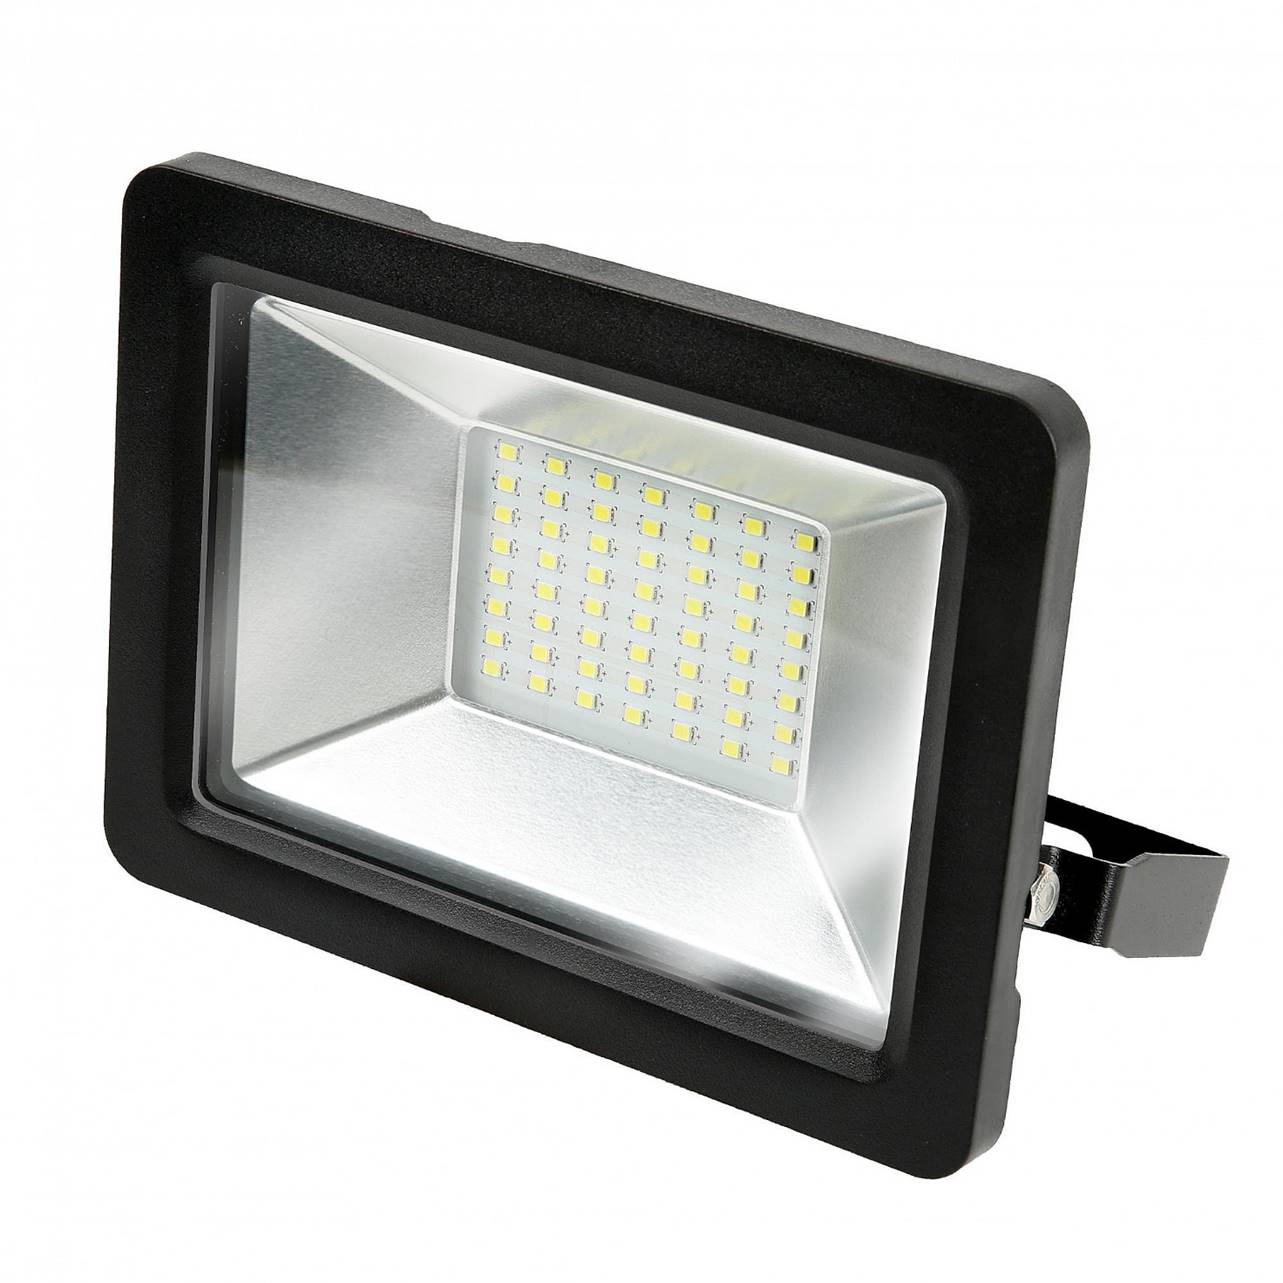
Checking the LED spotlight
Determine the type of LED. If it looks like a yellow square, it will not work to check it with a multimeter, since the voltage of such a source sometimes exceeds 30 volts. In this case, the worker is used for verification. driver with appropriate voltage and current.
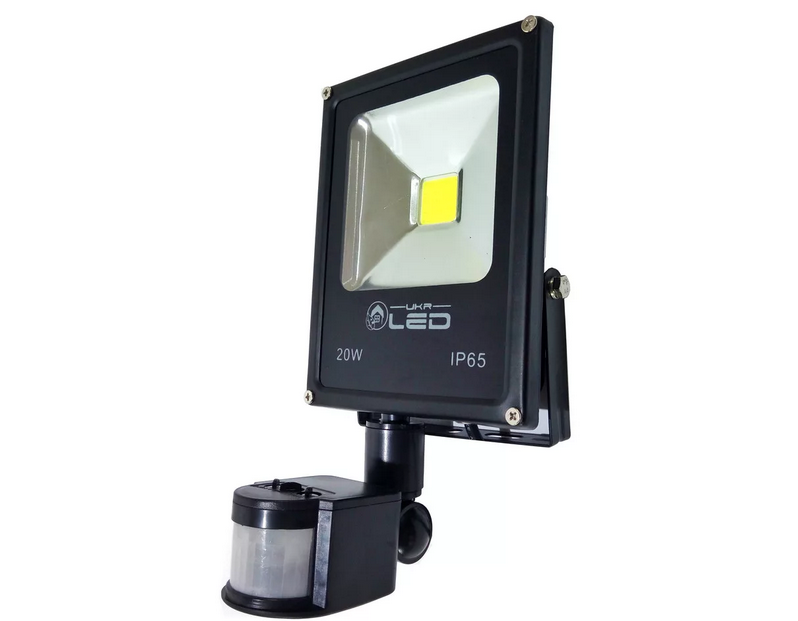
If a board with a large number of SMD chips is installed in the spotlight, it can be checked with a multimeter.
Inside the case there is a driver, gaskets to protect against moisture and a board with diodes. After disassembly, you need to act in the same way as in the case of checking the LED lamp.
Checking the LED Bridge
It will not work to illuminate the entire bridge with a multimeter. Sometimes you can get a slight glow in Hfe. In the diode test mode, each of the chips is checked separately.
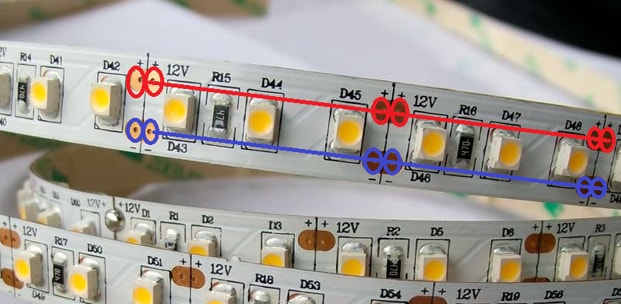
If live parts are being tested, the tester should be switched to the continuity mode and go through each power output at all ends of the area being tested. Thus, you can find the damaged part of the bridge. In the photo, the blue and red stripes indicate the zones that should be called from the beginning of the tape to the end.
How to check without soldering the diode
The LEDs installed on the board are checked with a probe. But standard tools may not fit into the transistor connector. Here you need a thin conductor. It can be:
- sewing needles;
- part of a cable or strand of stranded wire;
- office paper clips.
The conductor will have to be soldered to a foil probe or connected without a plug, getting an adapter. If you use a foil plate with soldered pieces of wire, you must insert it into the appropriate slot of the multimeter and use homemade probes.
Why do LED bulbs fail?
A semiconductor is called an LED. device, externally resembling a standard diode. They are characterized by a low reverse voltage limit. An electrical discharge or incorrect circuit setup can cause the chips to burn out. Low-current bright diodes, which serve as indicators of power sources, most often burn out due to instability of the mains voltage.
We advise you to watch the video: How to check the LED in the LED lamp with a multimeter.
The most common reasons burnout diode lamps - this is:
- wrong current. The characteristics written on the packaging indicate the maximum service life. But this is a parameter at an optimal current of about 20 mA. Chinese light bulbs rarely differ in quality, as manufacturers install cheap chips in them, often used to illuminate gadget displays. These elements are rated at 5 mA and burn out quickly;
- low quality diodes. In order to save money, manufacturers often install chips made using outdated technologies, namely with a transparent p-contact, into the lamp. This option is the most economical and used for backlighting smartphone screens. When heated, the life of such LEDs is significantly reduced. Therefore, they cannot be used in lamps;
- heat dissipation. Sometimes the light bulb burns out due to overheating. This can be caused by poor combination of housing with LEDs.For example, if a chip is designed on the basis of the latest technologies, it will be difficult to work in the chip package of previous generations and will quickly burn out. In most cases, this is due to the size of the landing nest.
- poor build quality. Due to fierce competition, manufacturers are trying to bring as many devices to the market as possible. Therefore, assembly control is reduced, which causes degradation of the diodes.
- misuse. Overheating of the light bulb can occur not only due to a violation of the assembly technology. Sometimes it is more expedient to purchase lamps from Russian manufacturers, as they are adapted to the operation of local networks and better tolerate voltage drops.
LED strips need to be installed only on an aluminum profile. If the lamp constantly burns out regardless of the manufacturer, the wiring needs to be checked.
We recommend to study: Repair Led bulbs at home.
Conclusion
A multimeter is one of the best options for checking the performance of an LED lamp. The only thing that is required from the master is to learn how to use it and configure it. Incorrect setup of the tester may lead to incorrect results.