Tinted rear lights
Tinting taillights is a simple process, but it requires accuracy and compliance with all recommendations for the work. In order not to receive fines for traffic violations, you need to choose a film of not very dark colors. It must be remembered that the brake light should always be red, and the turn signals should always flash yellow or orange.
Why tint taillights on a car
There can be several reasons, it all depends on the condition of the lights, their color and other features. Most often they are tinted for the following reasons:
- Appearance improvement. The back part after pasting is refreshed and looks much more attractive. The effect is especially noticeable on old lanterns, the surface of which is burnt out, matte or covered with numerous scratches. It is easy to hide minor defects - chips, cracks, etc.
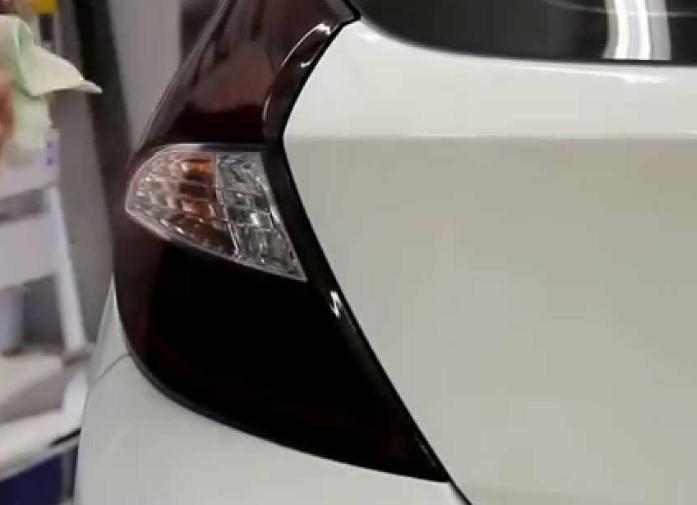
![Tinted rear lights]() Many types of films only slightly darken the lights, making them brighter and more expressive.
Many types of films only slightly darken the lights, making them brighter and more expressive. - Styling change. By tinting, you can give the car a different look, in some situations this is the only way to refine it, since new lights are expensive.
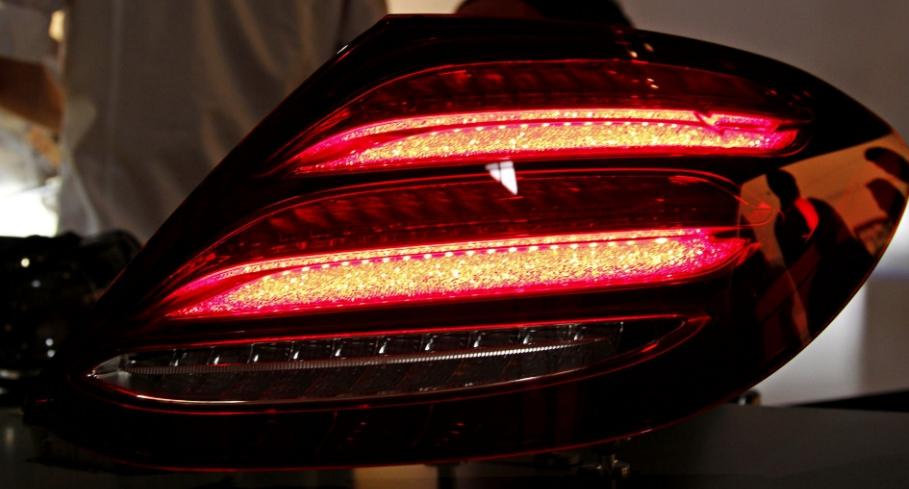
![Tinted rear lights]() You can quickly change the design of the rear without buying new lights.
You can quickly change the design of the rear without buying new lights. - Elimination of traffic violations. This applies mainly to American cars, in which the brake light may be orange. This is a violation of the rules, but you can solve the problem by sticking a red film on the entire surface or part of it, and it must be dark enough to provide a red color.
- Protection of lanterns from damage. The film not only protects the surface from scratches, but also prevents the formation of cracks even when pebbles hit. Exterior finish increases durability several times, which is important for those who move a lot on low-quality road surfaces.

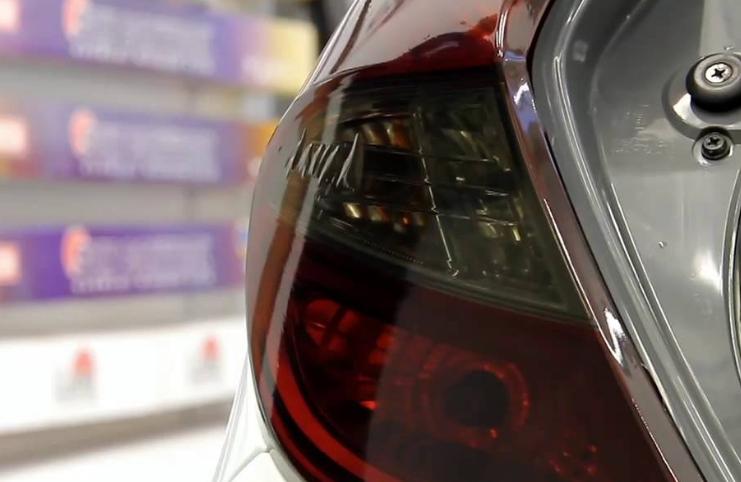
Some types of tinting are almost invisible, as they simply refresh the color of the headlights.
What do you need for toning?
To tint the rear lights with a film, you will need a certain set of materials and fixtures. Without them, you should not start work, as it will not be possible to achieve a good result. The following is most commonly used:
- Film for toning. It is better to buy a special version suitable for headlights.
- Microfiber cloth or any other lint-free cloth. It is important that even small fibers do not remain on the surface, as they will worsen the gluing result.
- Degreaser. It can be either a special option or alcohol or compositions based on it. Some types of solvents can be used, but they should be used with care, some will dull the glass.
- Building hair dryer. Allows you to warm up the film and improve its fit in difficult areas.Instead, you can use quite powerful household options with a narrow diffuser, which also warm up the surface well.
- Construction or stationery knife for clean and precise cutting.
- rubber spatula. Special small-size options that do not damage the film are best suited. Most often they are sold in the same place as the tint film.
Read also: How to improve car headlights
Pros and cons
This solution has both advantages and disadvantages. It is worth disassembling them in order to decide whether it is worth doing the work yourself or not. The main advantages are:
- You can literally transform the car and refresh the lights in just a few hours. Moreover, if you choose the right tint color, they will be almost the same as from the factory.
- The film well masks opacities, small scratches, damages.
- The protective layer increases the resistance of glass or plastic to impact and damage.
- The work can be carried out both with the removal of the lights, and directly on the machine.
- If necessary, the film can be quickly removed, it is best to preheat it with a hairdryer.
There are also disadvantages, they are:
- Quality film is quite expensive. And cheap varieties quickly lose their attractive appearance - the surface is covered with small scratches.
- The pasting skill is simple, but without experience problems can arise. Here accuracy is important.
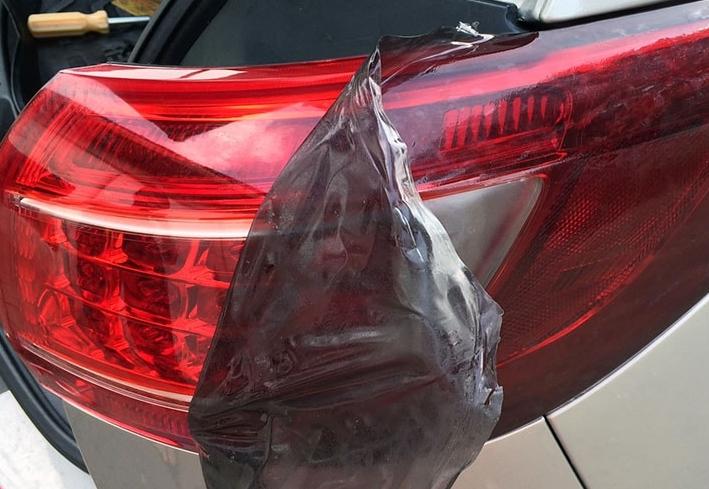
![Tinted rear lights]() Cheap film does not fit well on bends, often there are folds on the surface.
Cheap film does not fit well on bends, often there are folds on the surface. - Complex-shaped headlights are much more difficult to paste over, especially if they have a lot of protrusions or bends.
When pasting, it is desirable to make a cutout opposite the reversing lights so as not to darken it.
How to choose a tint film
To ensure a good result that will last for a long time, you must take a responsible approach to the choice of film. It depends on the appearance and strength, so it is worth remembering a few tips:
- Only special material intended for headlights and lanterns is used. Do not use film for windows or car windows, it does not have sufficient strength.
- Color is determined individually. But do not go to extremes and choose dark materials, they do not look the best, plus they distort the colors of turn signals and brake lights.
- It is better to choose options from the middle or high price segment. Cheap films are of adequate quality and are often damaged during operation.
Tinting process
It is best to remove the lights before starting work to provide easy access to all elements and simplify the work. It is worth pasting them on the car in cases where there is no possibility of removal or this causes many difficulties. Work instructions:
- Before tinting the lanterns, you need to clean the surface well. It must be free of dust. At the end, the glass or plastic is degreased with any suitable composition. If there were cracks, you can carefully repair them with special tools.
- A small piece of film is cut out with a margin on the sides, so that in case of displacement of the material there is enough for work. She is applied to make sure everything is in order.
- The protective layer is removed from the film and pasted according to the instructions, which are on a separate leaflet.It's simple - the material is gradually glued and smoothed with a spatula. On bends and difficult areas, the film is heated with a hair dryer to improve flexibility. But you don’t need to be very zealous - if you overheat it, wrinkles form.
- It is necessary to smooth the site after the site, expelling the air. At the edges, the material is slightly bent, after which the excess is cut off with a construction or clerical knife.
You can clearly see the instructions from the following videos.
It is not difficult to tint the taillights with a film, if you understand all the details of the process, carry out the work carefully and slowly. The quality of the material is of great importance, if it is of good quality, then it lays down and is leveled much better.