DIY wall lamps - from improvised materials
Making a sconce lamp instead of buying is a smart decision. This is a much more economical option. In addition, in a homemade sconce, all the conceived design ideas can be fully implemented. The article talks about making wall lamps with your own hands and shares the intricacies of their production.
DIY wall sconce: pros and cons
Making a sconce on your own from improvised materials has enough advantages:
- Profitability. Store sconces can fly into the penny, and 1000 rubles are usually enough to make homemade ones.
- Simplicity. It is much easier than it seems at first glance.
- Long service life. A properly made sconce will last more than one year.
- Space for imagination. In some models, there are no restrictions for this.
Where without flaws. They are also worth mentioning.
- Risk of being wrong.To make such a thing as a lamp, you need self-confidence and clear steps in the execution technique, without improvisation.
- Fire hazard. If you do not supply the right type of lamps, wall sconces can cause a fire.
- tree properties. When planning to make a lamp out of wood, you need to remember that this material is very weak to moisture. Plus, insects love it.
Material selection
The frame for the future lamp will be a square or round MDF board. A variety of materials are used for the ceiling, depending on the intended design: fabric, wood, plastic, threads. The main thing is that they do not pose a fire hazard..
For this, the type of lamps is equally important. To minimize the risk of fire, it is advised to put one of two types in the cartridge:
- energy-saving daylight;
- LED.
They almost do not heat the material and provide good lighting.
Stages of manufacturing a lamp
Tools
As a standard, for the independent production of a wall lamp, you will need the following list of tools:
- scissors;
- drill with different drills;
- roulette;
- jigsaw or small saw;
- reliable glue, or better - a glue gun;
- paint or spray can;
- pencil, ruler, eraser.
Depending on the type of sconce, the list varies, something is added, but it is better to always have these positions at hand.
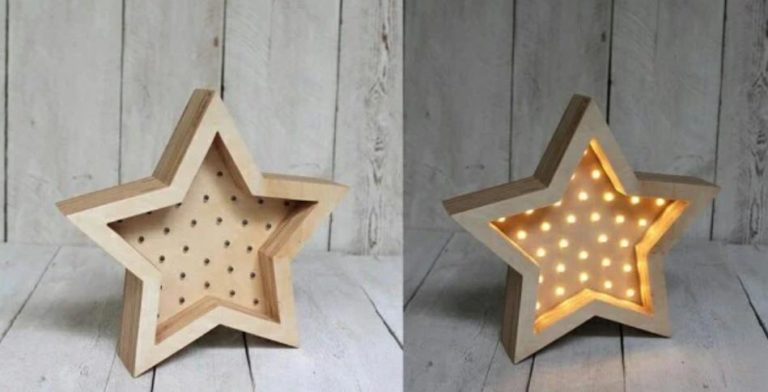
frame
First you need to make a frame. Of course, its dimensions should correspond to the dimensions of the future sconce. Everything must be calculated and outlined on the preparatory drawings. In the frame it is worth making holes for the cartridges.
It is necessary to calculate the thickness of the cartridges and the distance between them to the millimeter. The more rounds, the brighter the lighting will be.
Assembly
In addition, you need to make the side parts for the perimeter of the base. A wire will pass through the hole in the bottom sidewall. These parts are best attached to the frame with self-tapping screws. Behind the sidewalls, hooks or other fasteners cling to hang the lamp on the wall.
Next, install the cartridge and bring an electrician to it using a power cord and plug. If there is a cartridge left from the old lamp, it will fit. After summing up the electricity, all that remains is the manufacture of a ceiling lamp for the sconce.
6 original sconces: step-by-step manufacturing algorithms
Knitted sconce
Well suited for a room in the style of Provence.
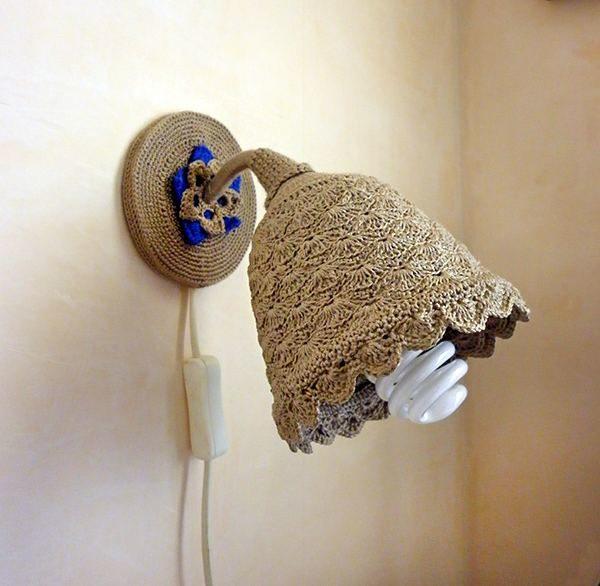
For manufacturing, you will need knitting threads, 2 packs of edible gelatin, a small round piece of chipboard and a cartridge. The step by step guide looks like this:
- Knit a plafond of the desired type and density from threads.
- To fix it, put the workpiece on a rounded frame - a jar, a vase, a balloon.
- Dilute gelatin sachets in a glass of warm water (not boiling water), and then thoroughly coat the lampshade with this solution.
- Make a hole in the center of the chipboard circle for the wire.
- Fasten the wire to the base with a "cover" of several brackets.
- Place a cartridge in the lampshade, connect it to the wire.
- Knit a small "hat" for a wooden base and put it on. Under the wire going to the lampshade, put a thick wire to make a sconce leg. The wire itself is securely wrapped with threads.
Master class: Making a knitted lamp.
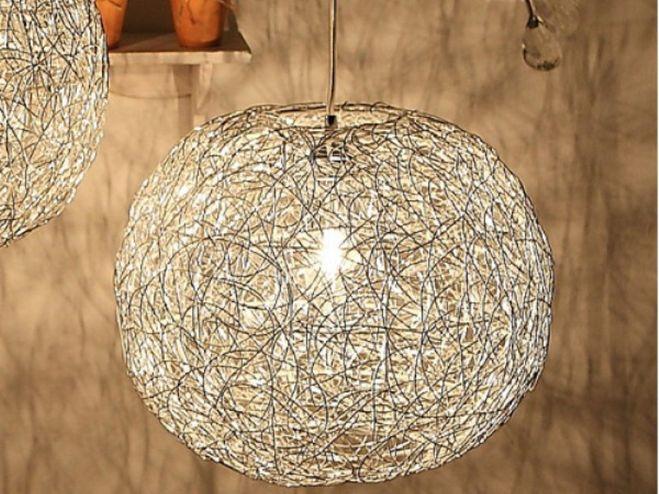
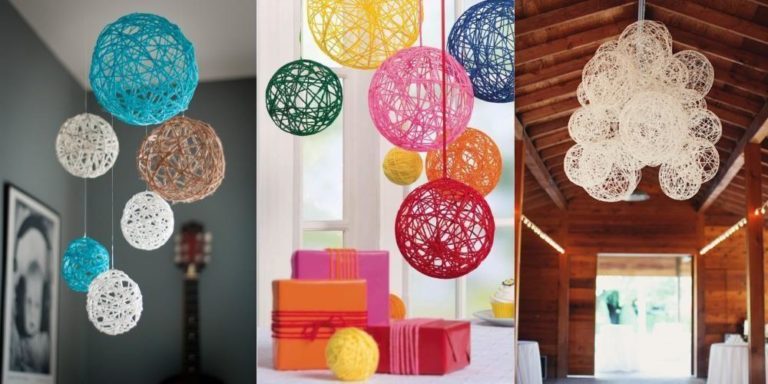
Lampshade made of threads and balls
This is one of the most famous varieties of home-made wall lamps, and it is also easy to make. You will need a balloon, glue and a strong thread. The color is not so important: the white thread can then be dyed in the desired color.
Procedure:
- Inflate the balloon to the intended size of the lampshade, tie it securely.
- Soak the thread in glue.
- One end of the thread is attached to the base, and then it is wound around the ball in arbitrary directions. The more layers of thread the ball is wrapped around, the less brightness it will give.
- Hang the craft to dry completely.
- When this happens, you will need to pierce the ball and carefully remove it from the workpiece.
- The finished ceiling can be painted in the desired color. So the lamp will fit into any design of the room.
Video: Ball lamp made of threads.
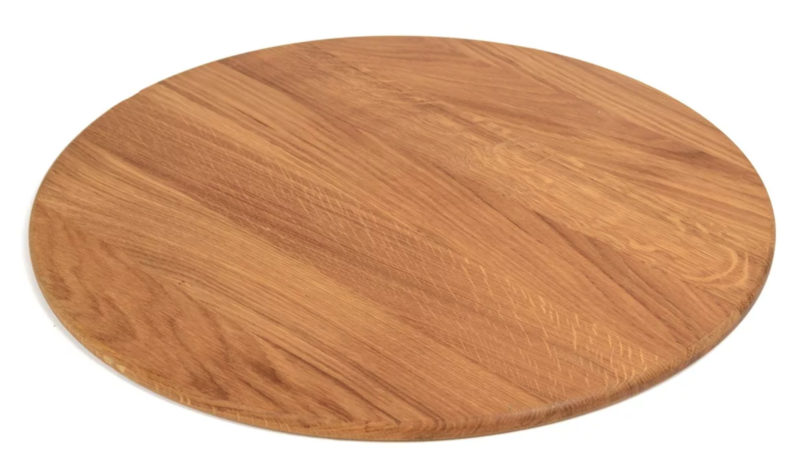
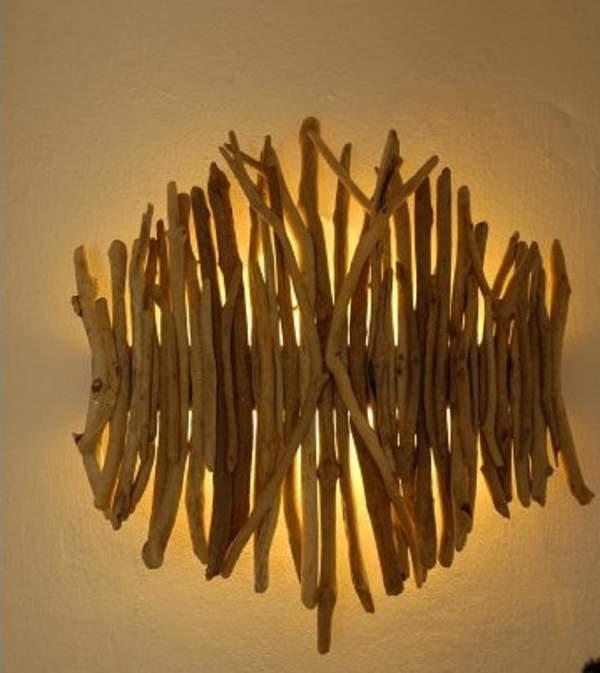
wooden sconce
Homemade sconces made of wood are very popular. Oak, beech, pine or mahogany are best suited for this. There are many options for sconces from this material.
Here is a step-by-step algorithm for the production of one of these sconces:
- Cut the veneer into strips of the same length. An alternative is cardboard or thin plywood.
- Roll each tape into a circle, securely glue the coupling points or fasten them with binders.
- Hang the hoops one on top of the other to make a spectacular three-dimensional ball.
- From a plywood sheet, cut a square blank for the base, make a hole in the center for the cartridge. Securely fasten the base from the inside of the ball, bring an electrician to the cartridge.
Recommended for viewing: Original sconce made of wood and rope.
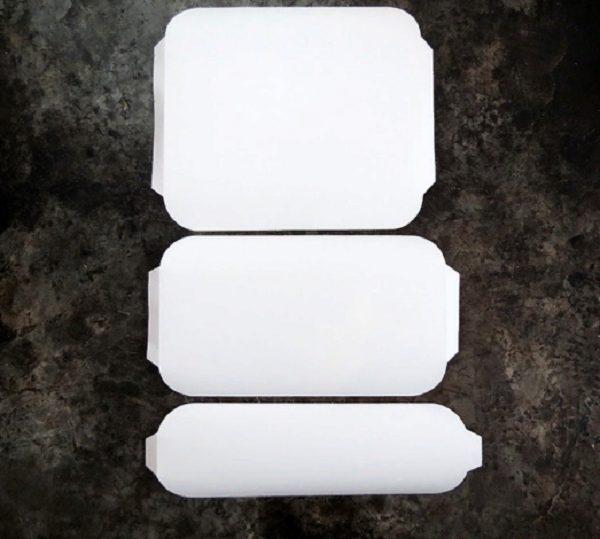
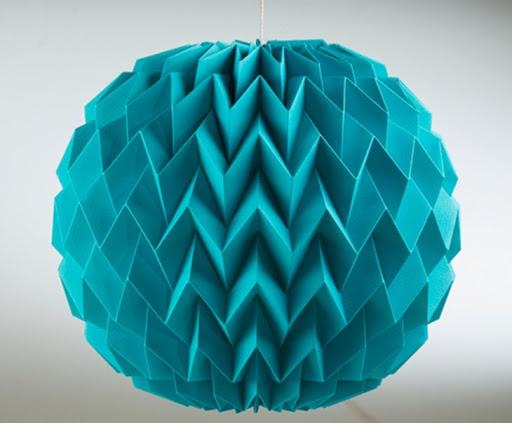
Paper sconce
Such a lamp is made very simply, but it looks spectacular and stylish. To make all you need is double-sided adhesive tape and a sheet of strong paper. A piece of paper or a piece of wallpaper will work well.
The scheme of actions is as follows:
- Cut out 3 rectangles from paper. Each next should have a greater length, but a smaller width compared to the previous one. The first fragment must be made almost square, and the third - narrow and long.
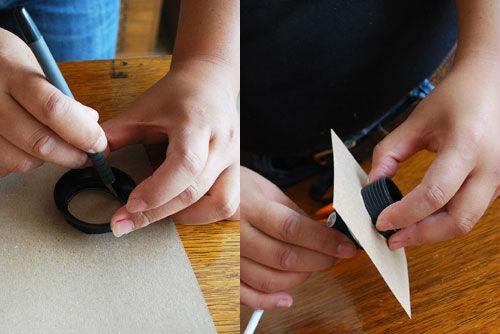
- With the help of a round object (saucer, plate) and a pencil, you need to round the corners of each figure and apply markings.
- An oblique line is drawn from the side edges to the marked roundings so that “wings” are obtained in the form of long trapezoids.
![DIY wall lamps - from improvised materials]() You should get such side edges.
You should get such side edges. - Next, all 3 figures must be folded one on top of the other. The very first, short, lies down, and the other two should be given the same length by arching up. Three pairs of edges - "wings" are securely glued together.
- When they dry, the front side of the edges along the entire length must be sealed with double-sided tape.
- The second side of the tape is glued to the wall itself.
It is worth making sure that the cartridge with the lamp is clearly in the middle of the paper cover.
It will turn out an interesting voluminous lampshade that will fit into any design option.
Lamp with garland and decor
Such lamps will be relevant not only during the Christmas holidays. They will bring a festive atmosphere to any day of the year. The basis for such a sconce will be a garland or LED strip.All that is needed is two types of wire (thin and thicker), paint, foam, paper or napkins.

The step by step algorithm is:
- Cut thick wire into pieces of different sizes.
- Roll each segment into a ring, and weld the ends by welding or tie with another wire, thinner.
- After that, the rings are connected into concentric circles using jumpers.
- Paint the structure with white paint.
- Wrap each ring evenly with a garland or ICE tape. For reliability, it can be tied with threads or tape.
- After that, the frame is decorated. Usually, foam figures, compositions made of paper or napkins are used for this. It's a matter of taste. Paper and napkins are easily pierced by the lights of the garland.
- The final stage is to fix the entire structure on the wall and place the cartridge inside.
There are no restrictions in the decor of such lamps. Bows, beads, paper tinsel - everything will do.

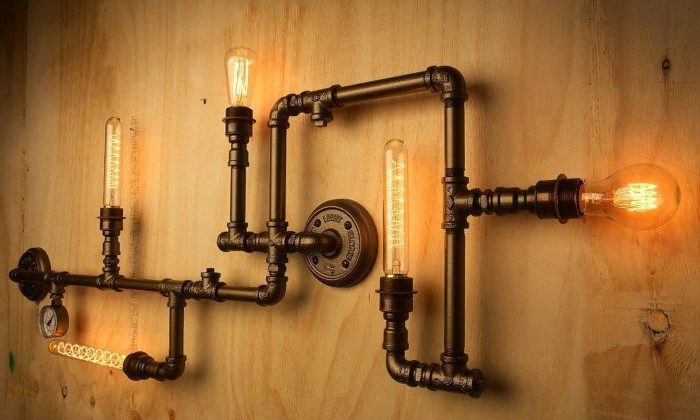
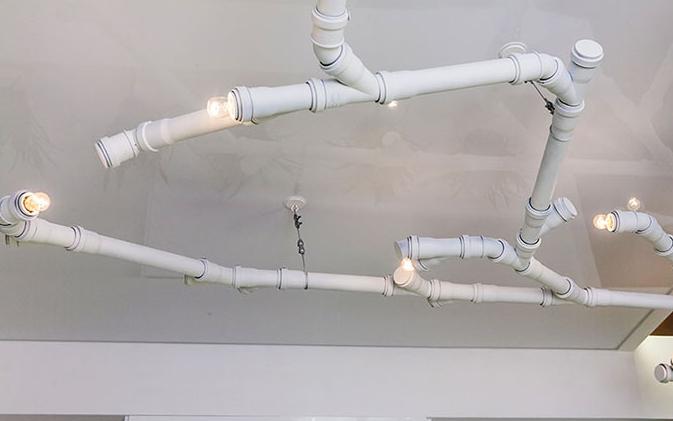
Sconce in loft style
An original semi-antique solution, but it will fit only into the corresponding design of the room. The basis is water pipes made of copper and steel. You will also need valves, fittings with ½ or ¾ inch threads, 1-inch adapters connecting fixtures.
Assembly process:
- To begin with, each pipe and part is degreased with acetone and wiped thoroughly.
- Prepare wires. There should be as many of them as there are horns in the future lamp. The wires are passed through the cavities of the fittings.
- Weld a sleeve to the leg of the sconce for subsequent fixing on the wall.
- Then you can let your imagination run wild. Fittings connect to each other in any desired order. Advice. The joints must be reinforced with fum-tape.
- An adapter is screwed to the end of each of the "branches" for a larger pipe diameter, and a cartridge is mounted into it, after stripping the wires.
- When the whole structure is ready, it should be painted with metal spray paint and allowed to dry.
- Screw bulbs into sockets.
- Bronze or gold paint will add beauty to the lamp.
- Fasten the sconce securely to the wall, and then connect the socket wiring to the external switch.
At the end of the selection: of 19 ideas for making lamps.