Detailed instructions for making a makeup mirror with light bulbs
A mirror with light bulbs is a universal design. It will be useful for clothing stores, jewelry stores, dressing rooms and even for the home. Good lighting increases ease of use, and the right choice of design will also improve the interior of the room.
Pros and cons of makeup mirrors
The main feature that distinguishes the dressing room mirror from the usual one is the location of daylight bulbs around the perimeter. Such additional lighting during cosmetic procedures will be especially useful. It will allow you to examine in detail all areas of the skin. The dressing room mirror can be either full-length or small, on a table.
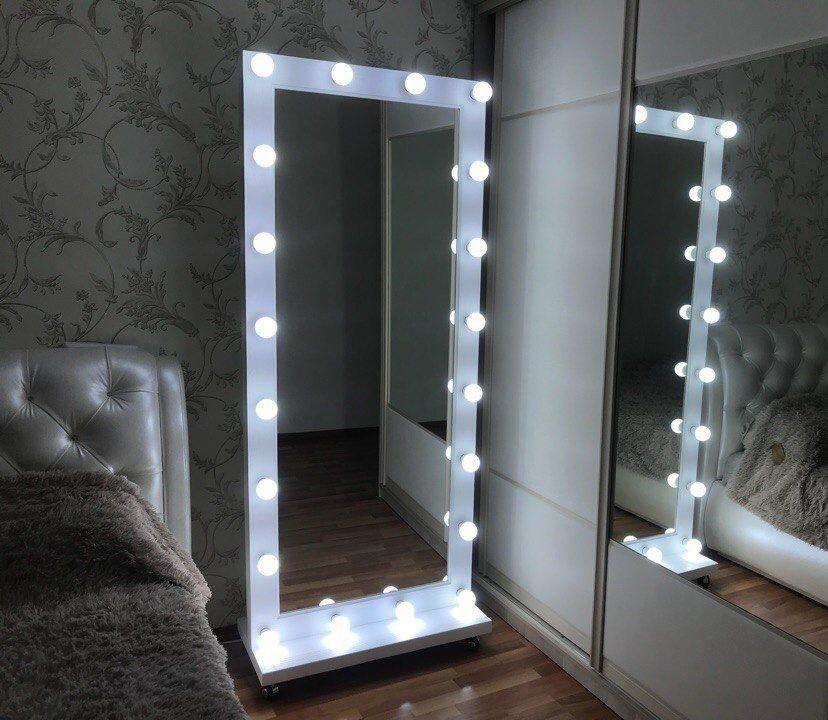
In full growth
This is a mirror with a height of 1.5 m, it is either mounted on the wall or installed directly on the floor. There are also options with additional support in the design. Especially popular in the professional field.They are suitable for clothing stores, showrooms, design studios.
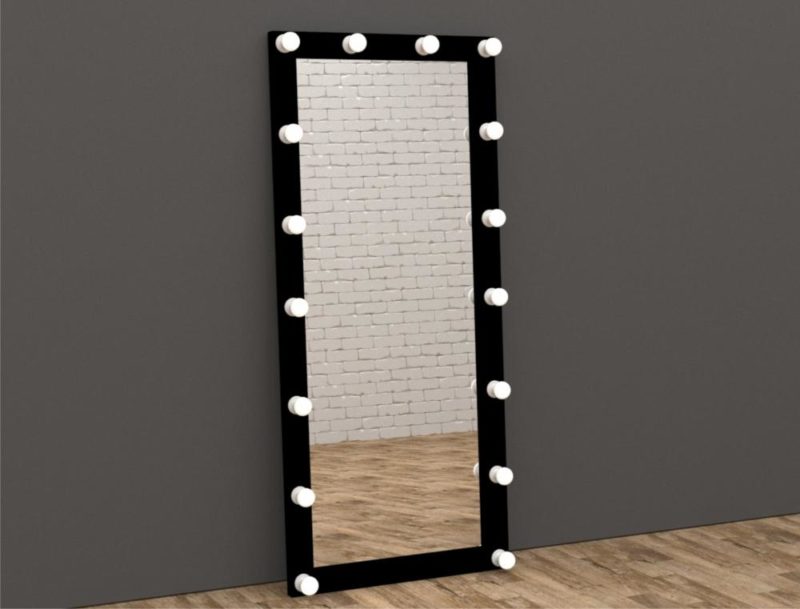
If the area allows, you can make a full-length dressing room mirror at home. It will allow you to conveniently select clothes, create images. The product is also suitable for some cosmetic procedures.
Advantages:
- allows you to get a full-length display;
- does not require the arrangement of additional tables, bedside tables;
- great for working with clothes.
Flaws:
- will have to spend more materials;
- not suitable for all cosmetic procedures.
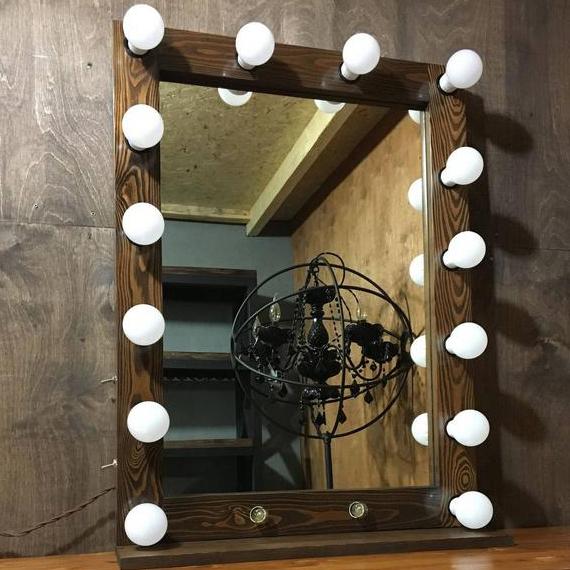
For makeup
A makeup mirror with bright illumination will not capture the entire body, but only the upper part. But its design is more convenient for applying makeup and haircuts. An additional modern feature is the “instagrammability” of the mirror, because it produces excellent photos.
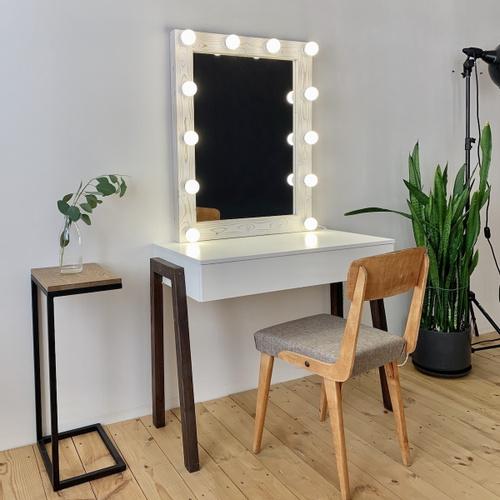
Make-up mirrors are installed in beauty salons, hairdressing, places of sale of jewelry, other ornaments. Without any problems, such a design can be made for the home, with the light off, it will perform the functions of an ordinary mirror, and with it turned on, it will be a make-up mirror.
Advantages:
- Convenience for applying makeup;
- the presence of additional space in the form of a table for placing cosmetics;
- the possibility of arranging in small rooms.
Flaws:
- Does not allow you to see yourself in full growth;
- requires additional structures.
Hull Varieties
The product design itself and its two main types are not yet a complete classification. They can differ from each other in size, shape, lighting, design, installation method.
Dimensions
By size they can be divided into:
- small. Compact options, around the perimeter of which there are 6-7 light bulbs.They are installed on bedside tables in corridors, bathrooms. One of the most popular sizes is 60x60 cm.
- Medium. Their width is usually at least 80 cm, height 100-120 cm. It is the middle ones that are most often used as makeup.
- Large. The size can even be 100x180 cm. To order, they make options even larger. These are full size structures.
The form
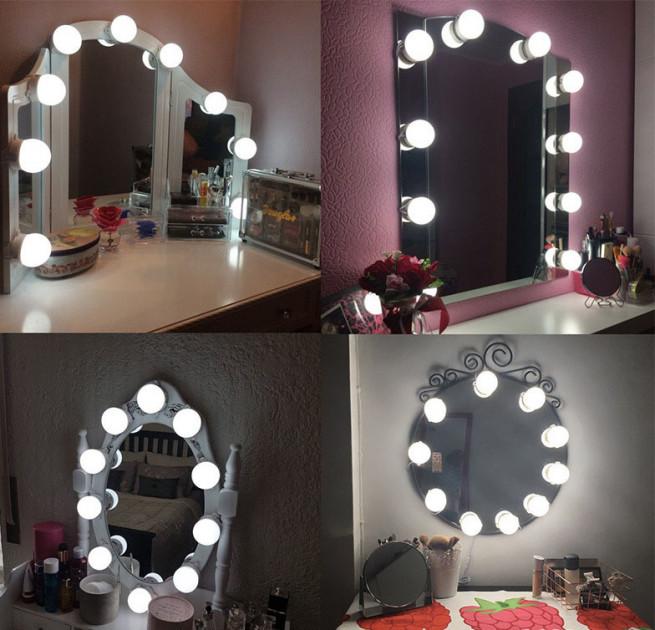
The shape of the product is another important parameter. There are usually three main types:
- Square.
- Rectangular.
- Round.
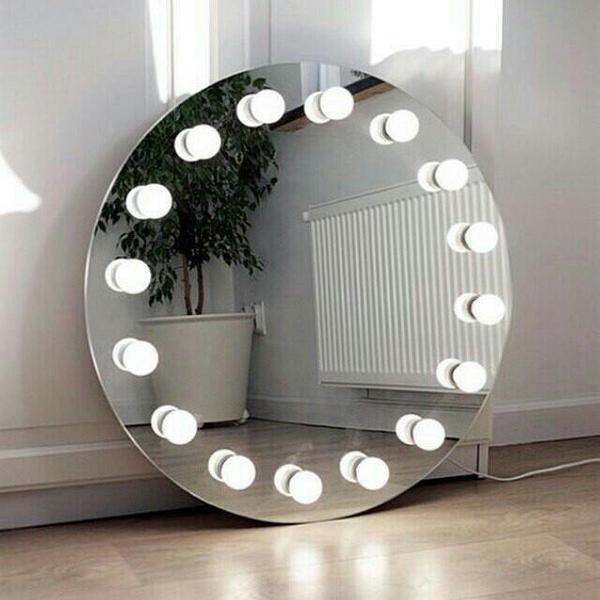
If we consider them from the point of view of convenience, then rectangular would be better.they provide a good overview. But style is also important, if a round mirror fits better into the room, then you can buy or make it.
The way the lamps are placed
For dressing room mirrors, several types of lamps are used:
- Incandescent lamps. Suitable for entourage in ancient rooms. But in operation they have significant drawbacks: they quickly burn out, heat up, and the light is difficult to regulate.
- Fluorescent lamps. Suitable only in cases where the backlight is used rarely and for a short time. Makeup artists practically do not use such lamps, because their eyes will definitely get tired for the whole day.
- LED. They are expensive, but they are durable, provide bright, eye-pleasing light.
According to the location method, there are options when the bulbs are mounted in a mirror, mounted on the wall around it, or mounted in a wooden frame. With self-production, it is better to look at the last option.
Installation method
It all depends on the size and design features, there are such types according to the installation method:
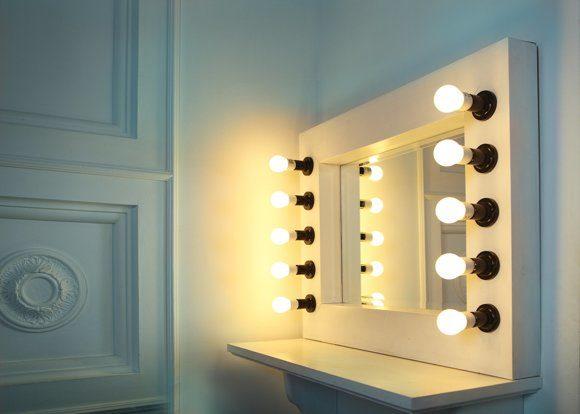
- Desktop. Usually these are compact options that are either attached to the table, or are portable and simply placed on the table against the wall.
- wall. They are fixed on the wall with screws, adhesive tape and other elements.
- floor standing. They are either simply placed on the floor with emphasis on the wall, or have a base. Another version of the floor dressing room mirror is a design on wheels, used in theaters and other professional fields.
Design
In addition to the main function, a homemade mirror should become an element of decor. It is important that it is combined with the general style of the room and other items.
Main styles:
- Classic. It is best to make a frame for this style from wood. Additionally, carving or gilding is used for decoration.
- Minimalism. Here, on the contrary, there should be a minimum of decorative elements, you can do without a frame at all by mounting the bulbs directly into the glass.
- Loft. Massive floor structures of strict geometric shapes are best suited for the loft style. Of the materials used rough wood or metal.
- High tech. Minimal frame and unusual shapes. You can even use spiral bulbs.
- Provence. The frame in strict geometric forms is made of wood, painted in light shades.
What you need to make
Before starting work, it is necessary to prepare all the tools and materials, so as not to run to the store later.
From the materials you will need:
- Mirror;
- boards or wooden beams;
- cartridges and light bulbs;
- electric cable, plug;
- metal corners;
- fasteners;
- dye.
Of the tools you need:
- Wood cutting tool;
- drill with pen attachment;
- measuring instruments;
- wire cutters;
- screwdriver;
- sandpaper with a bar.
It is also worth taking care of safety precautions, work in shoes with rubber soles, goggles and gloves.
Step-by-step instruction
Almost everyone can make a dressing room mirror with their own hands. It is important to study the step-by-step instructions in detail and follow them when performing work.
Tool selection
When choosing tools for making a dressing room mirror, you need to focus on accessibility, ease of use. It is good if it is possible to use a circular saw for cutting wood, but it is quite possible to cope with a regular saw.
What you definitely need is a drill with a nozzle for large through holes. Making them without this tool so that they are neat is difficult.
Board selection
As for the material, there is practically no difference, any wood will do. You can use pine boards. The dimensions will depend mainly on the dimensions of the mirror, but there is an important indicator - the thickness, it is recommended not less than 20 mm.
Another important parameter is evenness. There are many boards with curves in the hardware stores, so you will have to spend time choosing an even material.
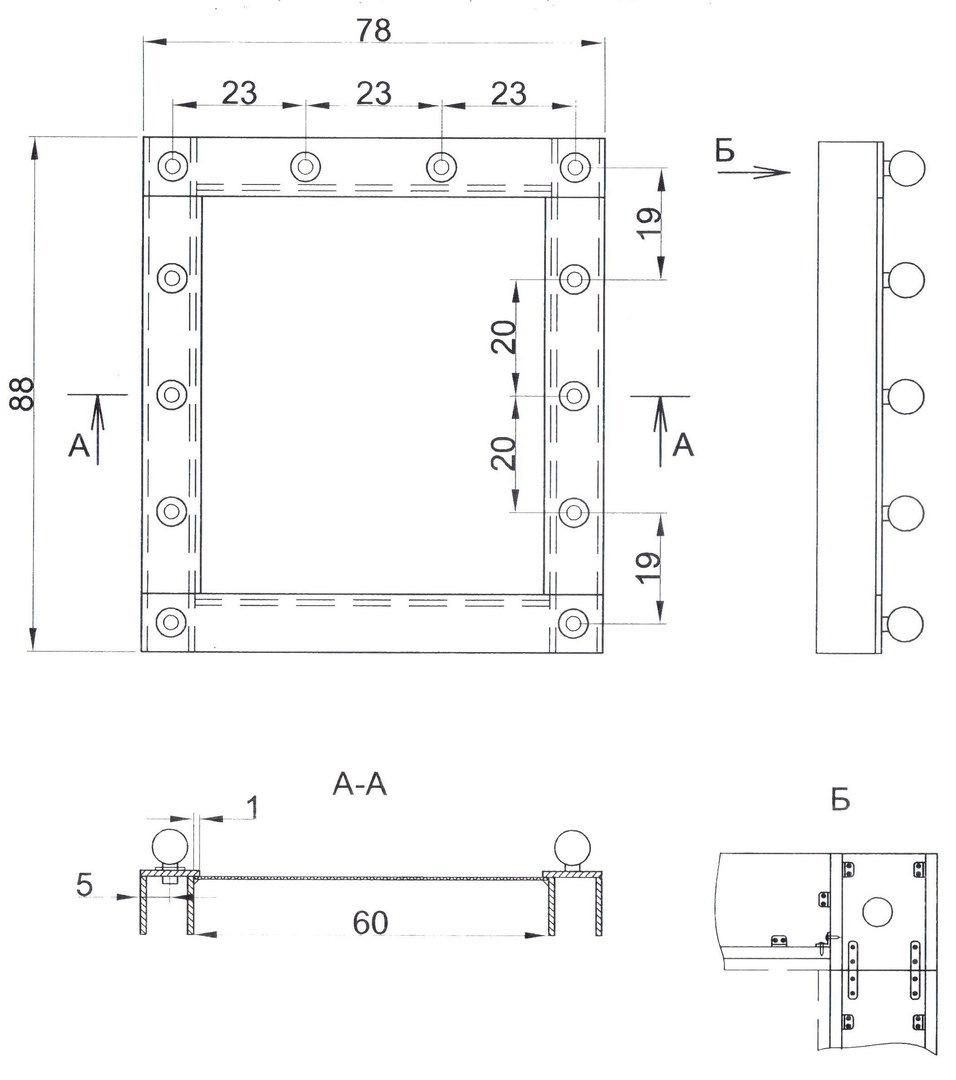
Drawing preparation
In order to avoid stupid mistakes, you need to make a drawing of a homemade dressing room mirror in advance. The diagram must have: height, width, thickness, both of the entire structure and of its individual elements. Additionally, it is necessary to indicate the location of the bulbs, the length of the step between them.
Frame manufacturing
The frame manufacturing process consists of several stages:
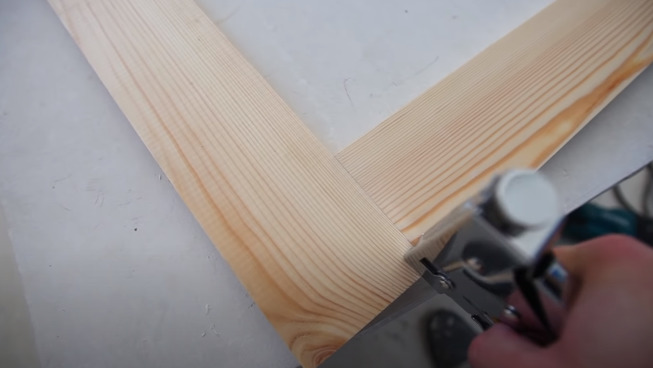
- Cutting material.According to previously prepared drawings, transverse and longitudinal boards for the frame are cut. You can do this with a hand saw, but when using a circular saw, you can get a more even cut.
![Detailed instructions for making a makeup mirror with light bulbs]()
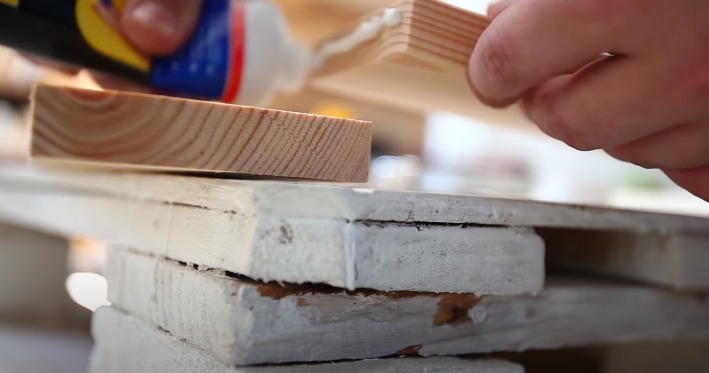
- Mounting glue can be used to fix the frame elements.
![Detailed instructions for making a makeup mirror with light bulbs]()
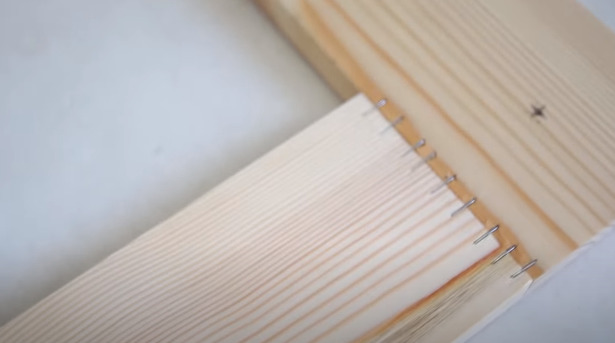
- Additionally, the design is reinforced with a construction stapler.
![Detailed instructions for making a makeup mirror with light bulbs]()

Drilling holes for lighting
According to a pre-compiled scheme, you need to make holes in the frame for light bulbs. At the same time, the accuracy of measurements is important, because the design must be symmetrical.
Instruction:
- On the frame it is necessary to draw the center of future holes.
![Detailed instructions for making a makeup mirror with light bulbs]()
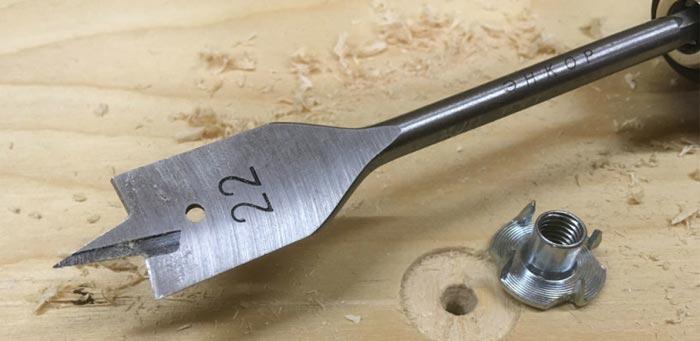
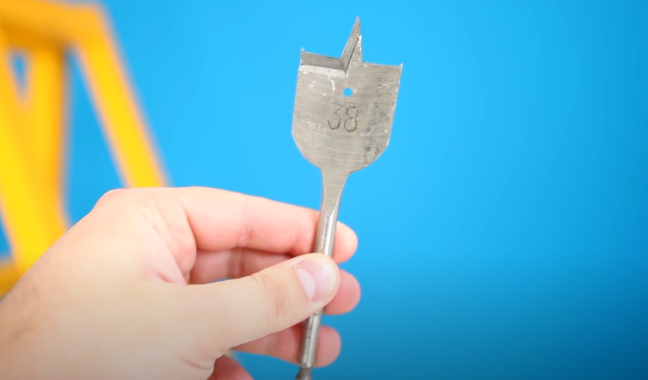
- You need to pick up a pen that will make a hole with the same diameter as the cartridge.
![Detailed instructions for making a makeup mirror with light bulbs]()
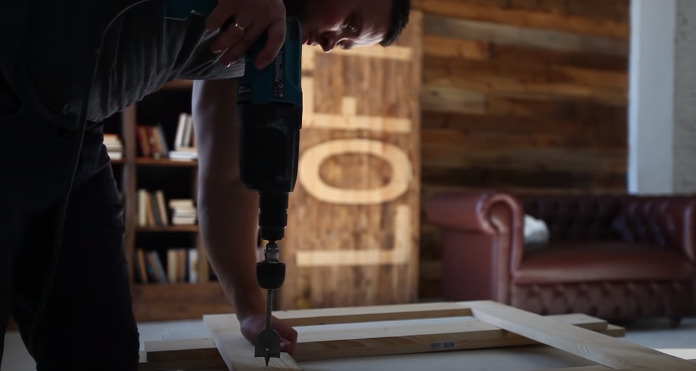
- After fixing the pen to the drill, all holes are made.
![Detailed instructions for making a makeup mirror with light bulbs]()
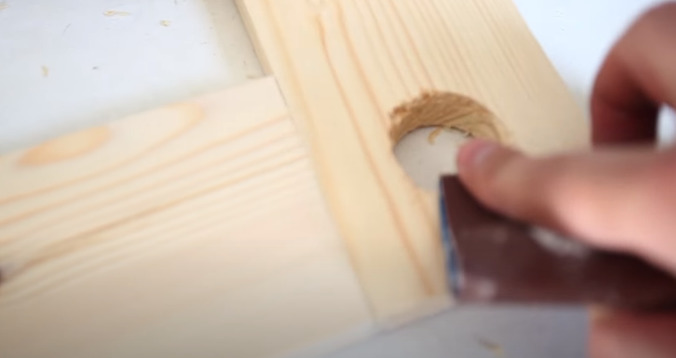
- After that, they are sanded with sandpaper.
![Detailed instructions for making a makeup mirror with light bulbs]()
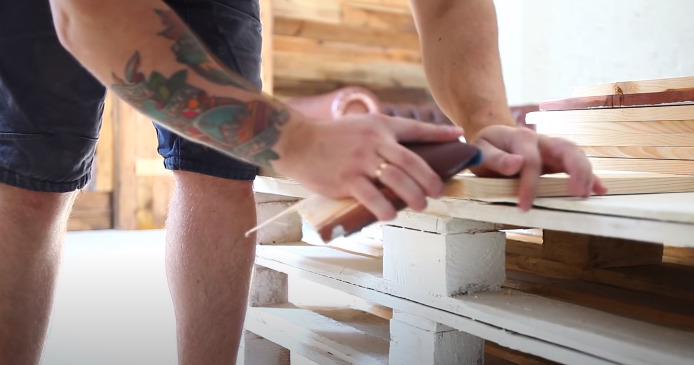
- Additionally, it is necessary to process the edges and the front side of the frame.
![Detailed instructions for making a makeup mirror with light bulbs]()
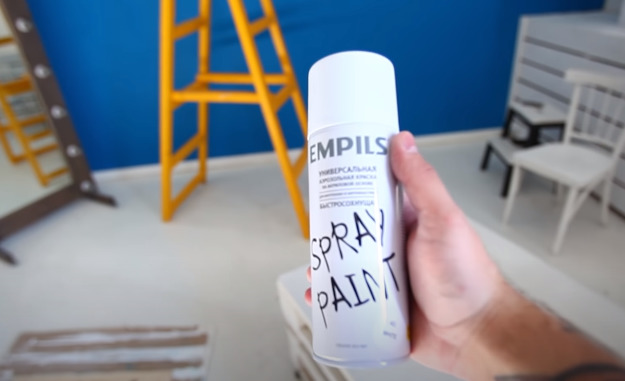
Painting
For small frames, painting can be done with just one can of paint. Before applying it, the surface of the material must be thoroughly cleaned.
Wiring
If possible, it is better to entrust all work with an electrician to a specialist. If not, then everything can be done by yourself even without experience, but with strict adherence to the recommendations.
Instruction:
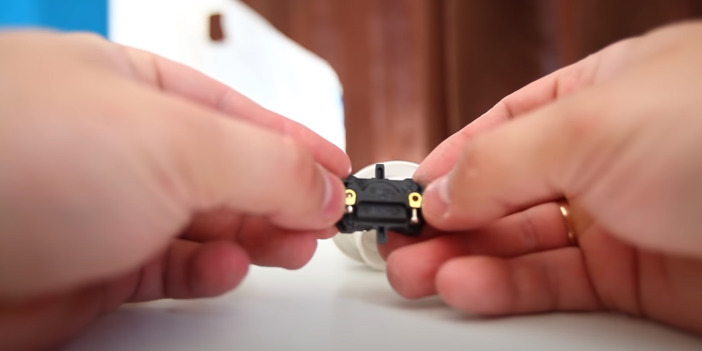
- Inside the cartridges there is an element with two wire clips.
![Detailed instructions for making a makeup mirror with light bulbs]()
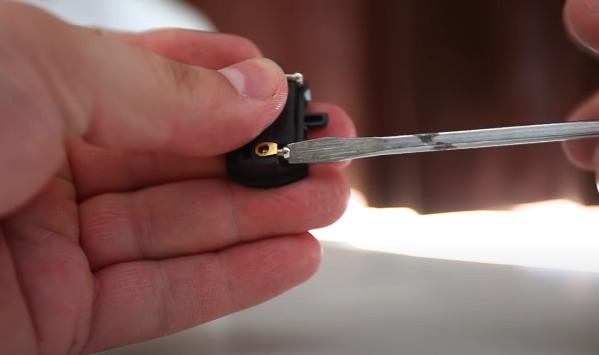
- You need to unscrew the small bolt, insert the wire into this compartment and screw the bolt back.
![Detailed instructions for making a makeup mirror with light bulbs]()
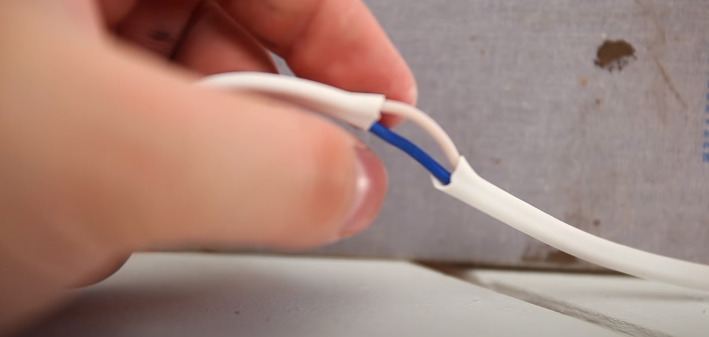
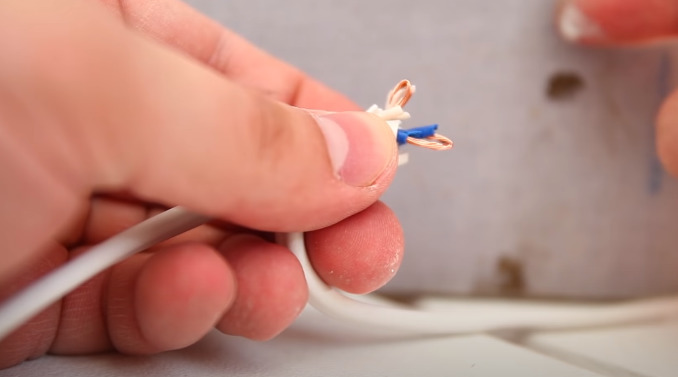
- Cartridges are connected to the cable by serial connection. For cleaning, a clerical knife is used, with which an incision is carefully made between the wires, and then they are cleaned.
![Detailed instructions for making a makeup mirror with light bulbs]()
- The bare wires must be bent so that they can be inserted into the socket.
![Detailed instructions for making a makeup mirror with light bulbs]()
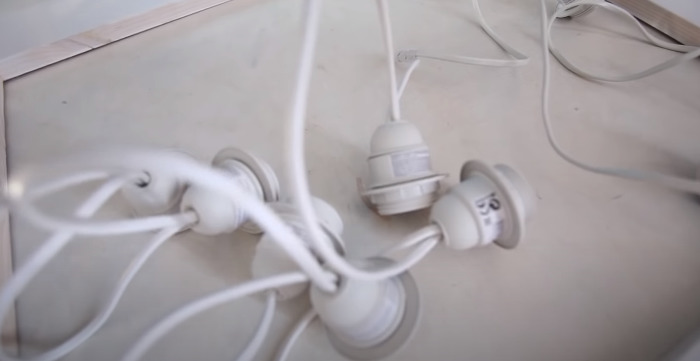
- In this way, all the cartridges are connected to each other.
![Detailed instructions for making a makeup mirror with light bulbs]()
Video lesson: Making a make-up mirror for a makeup artist.
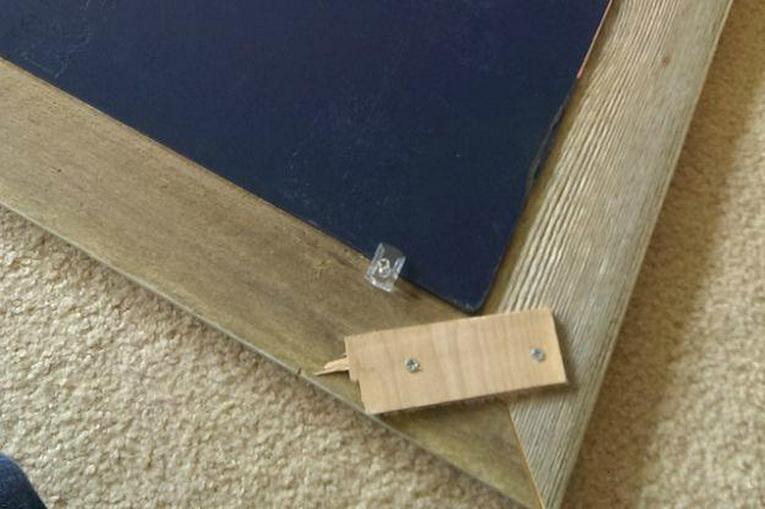
How to fix a mirror
There are several ways to fix:
- Using double sided tape.
- Attaching corners.
- Use of special fasteners.
Decorating Tips
There are several decoration options. For a wooden frame, you can apply carving, painting in different colors, gilding. The glass itself can be decorated by sputtering drawings, but it is important to do this in such a way that they do not interfere with the reviews. You can also decorate the space near the mirror well, for this you can use flowers and other decorative elements.