Installing auto-corrector headlights
The article talks in detail about the role and significance of the headlight corrector while driving, introduces different types of these devices, the principles of their operation. An example of installing an automatic do-it-yourself headlight corrector with detailed instructions is given.
The principle of operation and the purpose of the corrector
The main task of the headlight position regulator is to protect the driver from short-term blinding by the lights of oncoming cars. This applies to the low beam mode, when the risk of losing vision for a while is very high.

The spectrum is distributed in a completely different way in the high beam mode, and here the help of a spotter is, in fact, not needed.
Another option that this part provides is to correct the direction of the headlights of a laden vehicle. When the trunk of the car is well filled, the front of the body rises slightly, and, accordingly, the luminous flux from the lights shifts a little higher than necessary. This is fraught with the risk of blinding drivers of oncoming cars.Here the corrector makes it so that the position of the beam remains unchanged when the body is shifted.
You need to adjust the adjustment parameters before loading the vehicle, and not after.
Types of headlight correctors
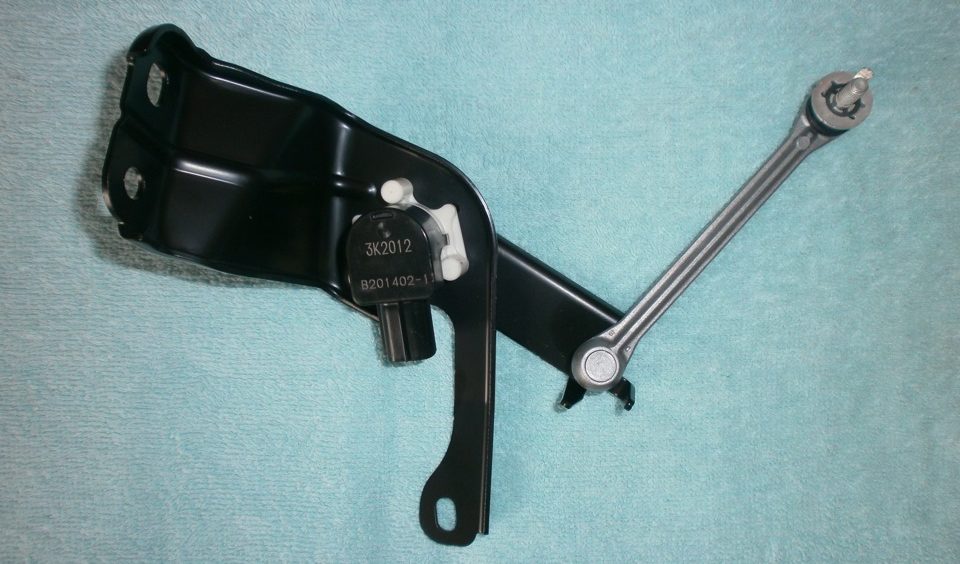
The principle of operation and the device of headlight correctors does not differ significantly depending on the type of device. The three main elements in its design are:
- track clearance sensor;
- control mechanism;
- geared motor.
The only difference is in the setup method. The types of regulators will be discussed further.
Manual
Headlight correctors of this type, as the name implies, are activated manually. The device uses one of the types of drives:
- Mechanics;
- hydraulics;
- pneumatics;
- electromechanics.
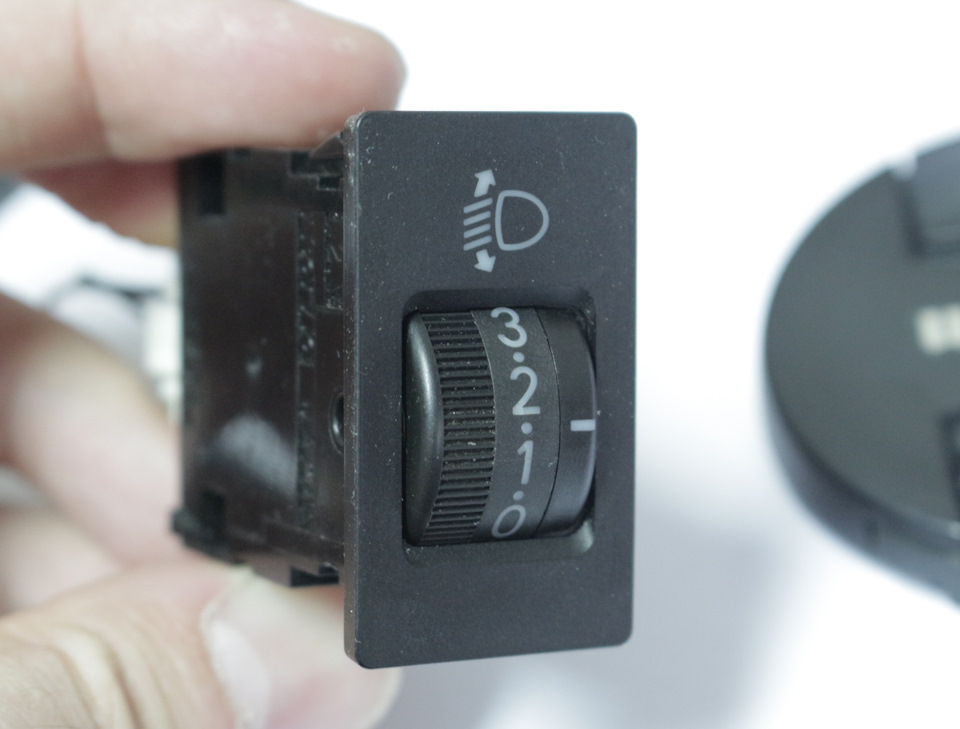
Switching on occurs due to the rotation of a small toggle switch-wheel. It has a special scale marking the position of the headlights - either numerical or graphic. After evaluating the change in the center of gravity of his car after loading the trunk, the driver selects and sets the corrected position of the lights using the wheel.
After that, the motor is turned on. The gearbox, after receiving a command from the wheel, sets in motion a special rod that goes back and forth under the headlight. Touching it, he sets the headlight to the required angle of inclination. It's that simple. Actually, this ease of use is one of the main advantages of manual correctors, along with the cost. Drivers of inexpensive or old cars can afford them.
Auto
This option does not require any human intervention at all. The headlights are adjusted automatically.If the sensors detect deviations from the normal values, the system itself corrects the direction of the light. Auto leveling is best for headlights on halogen or xenon. The last regulator is absolutely necessary.
The main parts of this automated mechanism are the rotor and stator. Several non-contact sensors are fixed at the bottom of the body, which, in turn, are connected to the suspension. Information about the movement of the suspension is delivered to the rotor. Rotating it changes the magnetic field. The control system reacts to this and converts the change in the magnetic field into the desired headlight angle. As a result, the corrector mechanism sets this angle.
Corrector installation rules
Since the automatic headlight range control is not a cheap pleasure, more and more motorists are mastering the design and installation of such a device with their own hands. It will not work to make a dynamic regulator at home, but an electromechanical one is another matter. Any driver who understands the design of the car can do this.
What you need to install
If the light positioner that worked before is out of order, it must be removed from the car: this is a prototype for the manufacture or purchase of a new part.
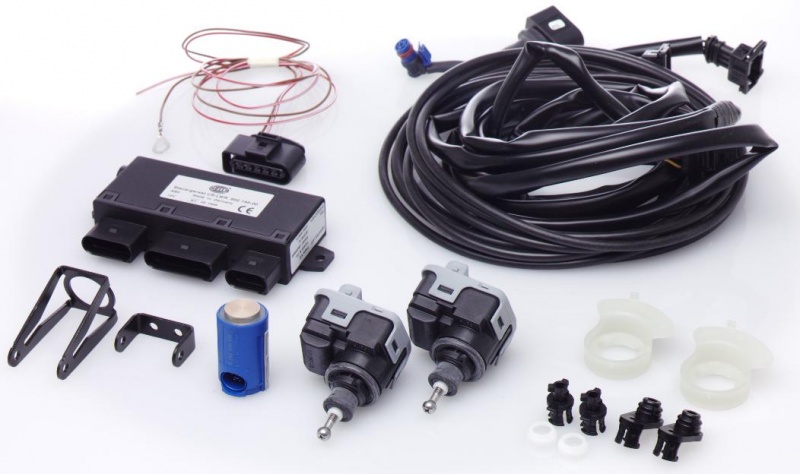
To install a new electromechanical auto-corrector on the headlights, you will need the following available tools:
- 5 pieces of stranded wires with a cross section of 0.35 mm square. 1.65 m and 2.55 m long;
- 20 female electrical terminals;
- 2 PVC tubes;
- 1 block with 5 contacts;
- 2 pads with 11 pins;
- 2 thick power cables.
In addition, for the intended business, you need to be on “you” with a soldering iron.
Step-by-step instruction
The installation of the headlight position corrector itself takes place according to the following algorithm:
- Close the pipes near the battery, drain all the liquid from them.
- Remove the master cylinder. It is usually unscrewed with a screwdriver in a counterclockwise direction.
- Remove the lever from the headlight range control unit in the passenger compartment. To do this, you can use a candle key.
- Remove the block, pipelines and plug from the motor shield of the car.
- Measure and cut a suitable length of wires that will connect the corrector unit to the gearmotors.
- Securely insulate the wiring.
- On one side of it, you need to unsolder the terminals, and then carefully insert them into the connection block.
- The next step is to run the wiring through the hole in the engine shield.
- In the same way, it is worth soldering the terminals at the other end of the wiring, and then placing them in the holes for connecting gearmotors. The pads before this must be securely insulated.
- Connect the power supply from 4 terminals of the "mother" type.
- Through the terminal that is connected to the ignition relay, you need to connect a mass wire.
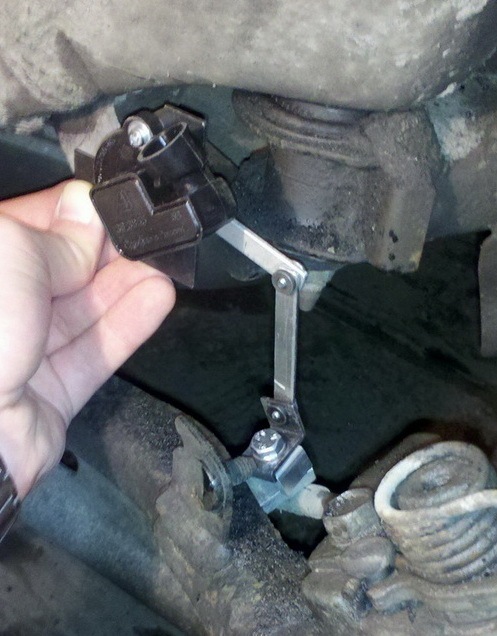
- Install the gearmotors in the standard hole, securely fasten them with gaskets and harnesses.
- Set the zero position on the corrector sensor.
Read also: Do-it-yourself headlight adjustment
After installation, it is immediately necessary to check the operation of the new auto-corrector. This is done simply: load the trunk, start the car, turn on the headlights. If the angle of the light flux remains the same with both loaded and empty trunk, then everything works well.
Video instructions for installing the corrector.
Checking the corrector
It is necessary to check as often as possible whether the headlight corrector is working properly. After all, this is one of the guarantees of safe driving at night. Each type has its own limited service life: automatic - up to 15 years, manual - less. The fact that the correction system does not work correctly or is completely out of order can be understood if, when igniting or turning on the dipped beam, the headlight drive does not make a monotonous, slightly buzzing sound. If there is a serious suspicion that the manual mechanism is out of order, you should do the following:
- Disconnect the position sensor lever mount.
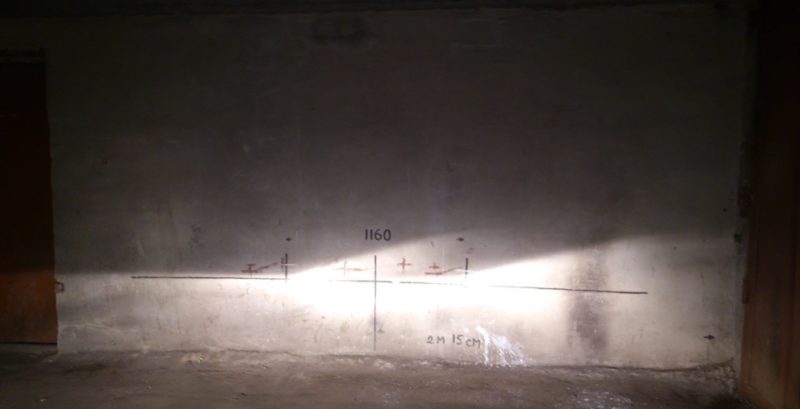
- At night, put the car with a loaded trunk in front of a light plain wall and turn on the dipped beam.
- Change the position of the lever and observe if there is a change in the light output.
- If the direction remains the same, then the corrector is out of order.
The most common cause of failure is wiring. It is best, of course, to carry out regular computer diagnostics of the operability of the light position regulator in a car service.