4 Ways to Repair LED Strip
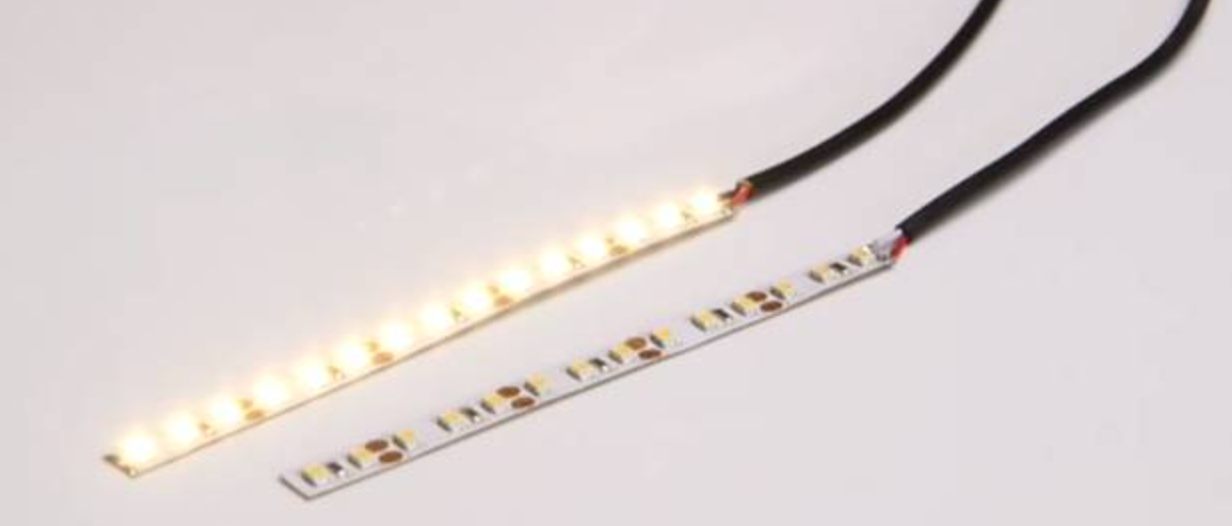
LED strips are getting more and more popular every year. They favorably fit into the interior of living rooms, entertainment facilities or are used to attract attention on advertising banners. But, like any backlight, LEDs can fail after a while. To solve the problem, the tape can be replaced, but this is not always beneficial.
If the failure is not critical, the elements can be repaired independently. To do this, you need to understand their design and principle of operation. Experience in soldering microcircuits is also useful. But before proceeding with the repair, you need to understand whether it will help or not. Sometimes damage cannot be repaired.
What problems may arise
The causes of breakdowns are as follows:
- backlight is not fully lit. First, check if the power supply is turned on. The next step is to check the voltage at the outlet. For this, a multimeter or test lamp is suitable.If everything is in order, it is worth checking the wire that leads to the power supply. If there are no problems, pay attention to the quality of the connection between the pad of the tape and the wire. Also, the cause of the malfunction may be in the printed circuit board;
- diodes lit up only to the center of the tape. The cause of the malfunction is the burnout of one of the segments;
- LEDs are constantly flickering. There may be several reasons for this. One of them is the failure of the power supply. It is also recommended to check the connections along the entire length and the supply wires. Sometimes flicker occurs due to overheating or gradual failure of the diodes;
- a separate piece of tape or some diodes flickers. This is due to damage or burnout of one of the chips. It is also possible that the resistor is bad.
LED strip half lit
This breakdown is common - in one of the segments the track is out of order. Diagnostics consists in supplying power to the areas that are located behind the problematic area of the LED strip. In a breakdown, do not rush to blame the diodes. Sometimes this happens due to a break in the conductor. To prevent this from happening, the folds should not be too sharp.
For repair, the non-working segment must be removed, and the working parts must be soldered together. This repair option is far from always appropriate, as the tape will become shorter. In any case, you will have to buy another product to fill the gap.
Lost brightness
The loss of brightness may not be immediately noticeable. The ribbon will continue to burn, but not as brightly as before. This can happen with a single segment or along the entire length. Possible reasons:
- the life of the LEDs is coming to an end.If the diodes stop shining as before after 2-3 months, this indicates a manufacturing defect. Attenuation may also indicate overheating;
- power supply failure. Check the contacts at the junction of the tape with the power source. If a pair of plug-socket or connector was used at the junction, oxidation may have occurred, due to which current conduction is disturbed in these places.
Doesn't shine at all
If the diodes do not light up all, it is worth looking for the cause in the power supply. First you need to check the 12-volt adapter and the presence of 220 volts. The problem may occur at the low voltage output and input. In most cases, the cause of what happened is a poor connection in the area with the first three chips. To find out, power should be supplied from the following diodes in order. If the backlight turns on, the problem area is cut off along a special line.

Flashing
Flashing LEDs may indicate that the power of the adapter is insufficient. To prevent this from happening each source must have a power margin of at least 20%. In addition, flickering can be caused by soldering that was made with aggressive flux varieties. When connecting individual sections, it is recommended to use ordinary rosin or immediately neutralize the flux that remains on the substrate.

If the product is running on 220V, there is a possibility that the smoothing capacitor has failed. In this case, the flicker will be almost imperceptible.
The most innocuous causes of LED blinking are the failure of the control panel, malfunctions in a segment of three chips, or the exhaustion of diode resources.
Diagnosis of nutritional problems
The power supply is checked as follows:
- Checking the reliability of the connection of the connector to the power supply.
- If the unit has a network indicator diode, you need to check whether it lights up or not.
- If there is no diode, the serviceability is checked with a multimeter. There should be no voltage at the output. Otherwise, the block needs to be repaired.
One of the first things to check is the control panel. Sometimes just replacing the battery is enough. If it does not sit down, the infrared sensor may have failed.
The next step is to check the LED strip. It is necessary to apply voltage to its terminals using two additional wires, without using a power supply. “Plus” is connected to the output, it is indicated by an arrow on the plug, and “minus” is alternately fed to the remaining outputs. At this stage, the main thing is not to make a mistake so that there is no short circuit between the wires of the block.

Power can be supplied from a battery or batteries for 5-15 V. The tape will not shine brightly, but this is enough to check its performance. If several chips or one of them turned out to be non-working, the backlight will not light up only in problem areas. Repair will consist in replacing damaged diodes with new ones.
how to fix led strip
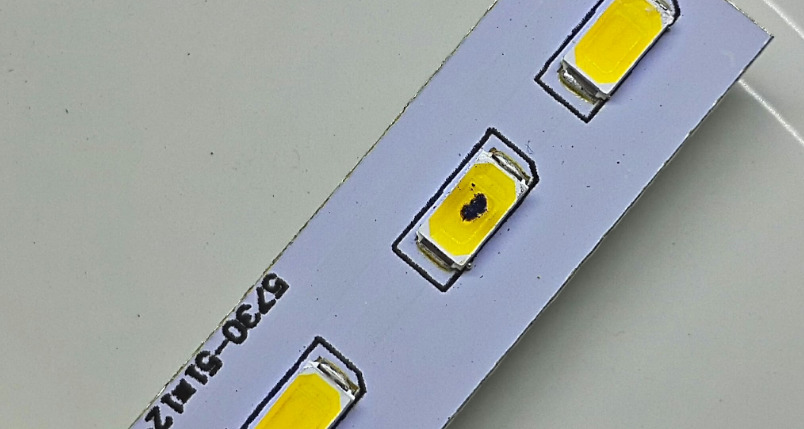
If one of the chips is burned out, it can be replaced and the backlight fully restored. When it comes to breaking the COB plate, repair will not help. First, they check with a tester, then they solder the damaged diode, connecting the circuit without it or with another element. In most products, the printed circuit board is made of aluminum for efficient heat dissipation to the heatsink.
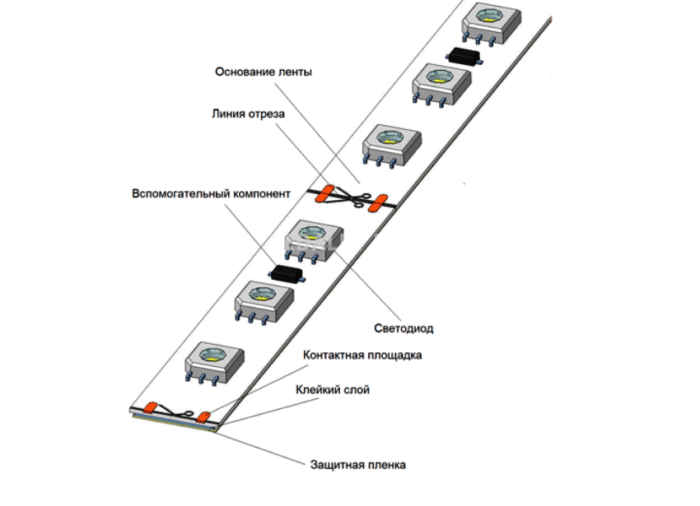
The substrate for heat dissipation on the reverse side of the chip is soldered to the conductive track. In the process of dismantling, it will have to be soldered. Such tracks are also present in plastic printed circuit boards. Depending on the material, it is necessary to choose the correct soldering method. For work you will need:
- blade;
- tester;
- holder;
- tweezers;
- flux;
- soldering iron (it is recommended that its complaints be thin). For a standard soldering iron, the tip will have to be made independently. For this, copper wire is suitable.
To remove the aluminum board, the case is separated from it. You can use a knife. The board is usually soldered to the base with two wires, they need to be soldered. For convenience, the tape can be fixed in the holder. At the next stage, each track is checked by the tester. A blown diode can be seen with the naked eye, but not always.
The quality of soldering should be examined. If a defect was made in production, this will affect the life of the diodes. When the burnt chip is identified, you need to take a soldering iron and tweezers. The burner must be on the other side of the board. When the soldering softens, the diode is removed with tweezers. The new chip must be fixed before the aluminum base cools down.
Health check steps
Before purchasing an LED strip, all buyers have a justified desire to check its performance. To do this, you need to have a battery with you, for example, a “crown”.
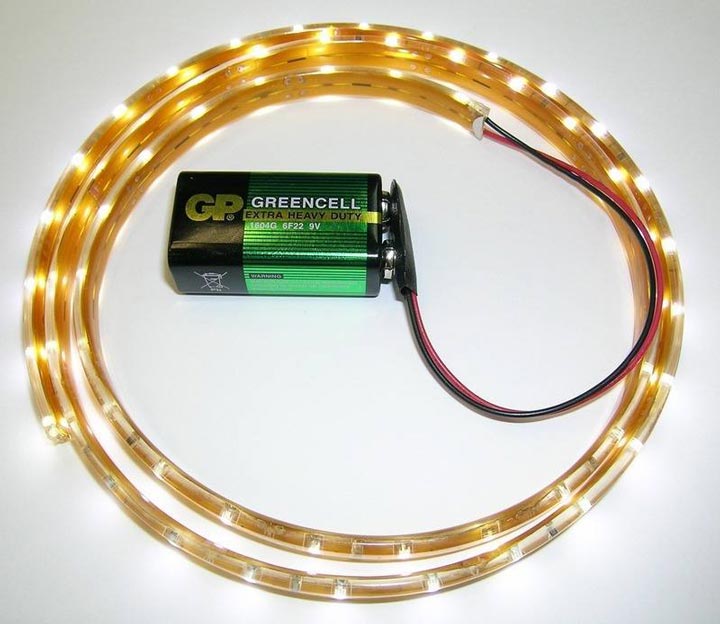
The product will not light up at full brightness. To test a long section, you will need a large battery, for example, which is used in an uninterruptible power supply for a computer. It will fit, because it has 12 volts at the outputs.One of the best options is automotive. To test individual LEDs, a multimeter or a 3 volt battery is used.
Video example of 220 volt LED strip repair
Tips before buying a new tape
In search of a suitable backlight, you should not pay attention to cheap Chinese online stores with attractive prices. In such products, low-quality chips are installed that quickly burn out or fade. In addition, the backlight is unlikely to be returned under warranty.
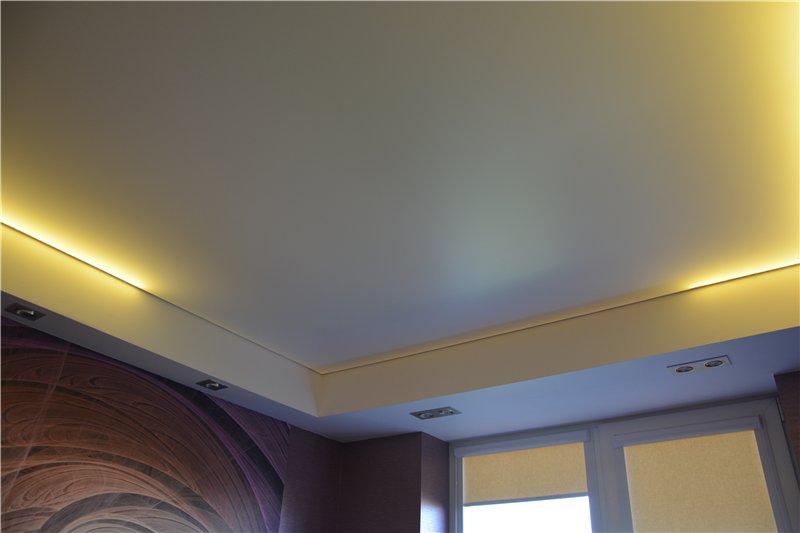
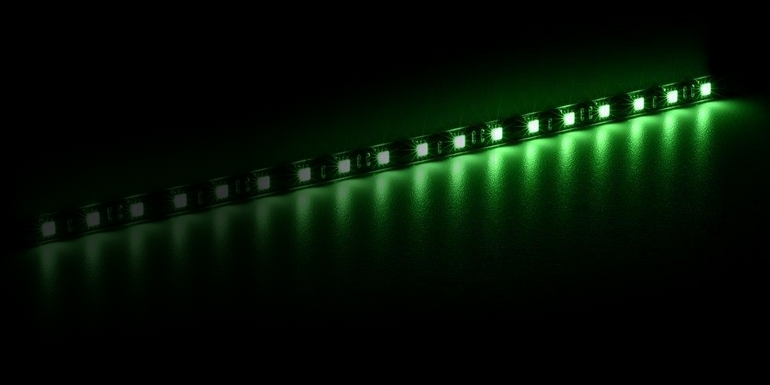
It is also worth considering the purpose of the LED strip. It comes in single color and multicolor. The latter is used as a decorative illumination of the surface or individual objects. One-color is suitable to highlight a certain area in a house or apartment, window and doorways.